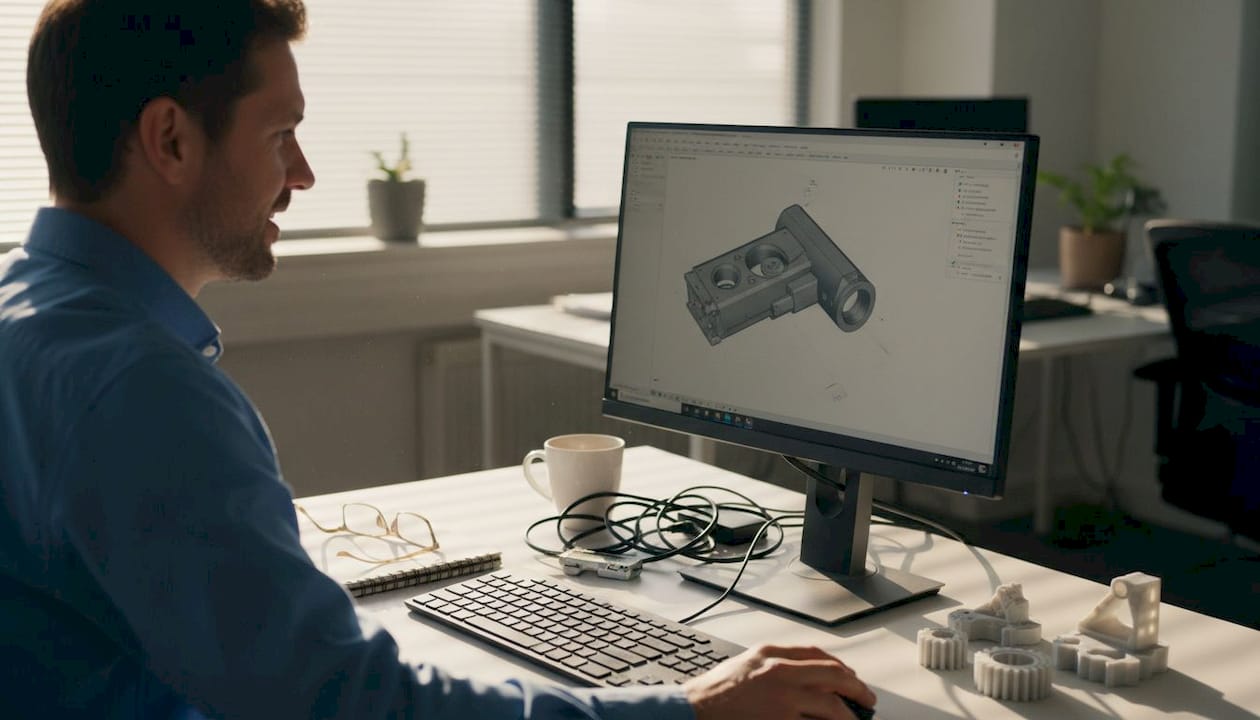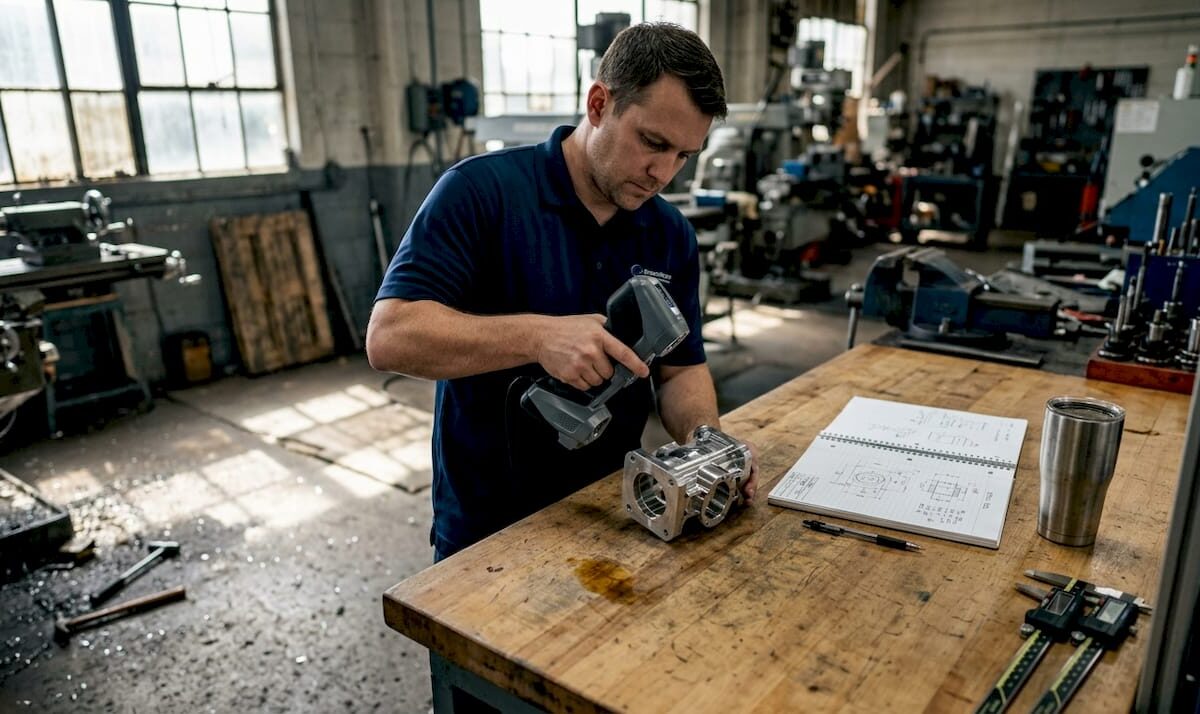
Engineer scanning metal part at workbench

Unlock 3D scanning: boost design accuracy and prototyping


TL;DR:

  • 3D scanning provides precise digital models, faster prototyping, and reliable quality control.
  • Choosing the right technology depends on accuracy, object size, surface, and budget.
  • Integrating 3D scanning early improves design accuracy, reduces errors, and accelerates workflows.

3D scanning gets dismissed as a glorified copy machine for 3D printing. That misunderstanding costs product teams weeks of rework and thousands in avoidable errors. In reality, 3D scanning is one of the most powerful tools available for businesses that need precise digital models, faster prototyping cycles, and reliable quality control. This guide walks you through how 3D scanning works, the main technologies available, the real business benefits, and how to integrate scan data into your design and manufacturing workflows without the common pitfalls.

Table of Contents

Key Takeaways

Point Details
3D scanning basics 3D scanning transforms real objects into accurate digital models for design and prototyping.
Top technologies Laser triangulation, structured light, and photogrammetry each suit different accuracy and use-case needs.
Business benefits 3D scanning saves time, reduces errors, and enables rapid iteration in product development and manufacturing.
Workflow integration Scanned data seamlessly fits into CAD and production pipelines, connecting design with manufacturing.
Real-world success tips Preparation, surface treatment, and calibration improve scan quality and project success.

How 3D scanning works: The basics explained

At its core, 3D scanning captures the exact geometry and surface details of a physical object and converts that data into a digital model. That model can then be edited, analyzed, reproduced, or fed directly into a CAD (computer-aided design) system. The process has three main stages: data capture, point cloud creation, and mesh or model generation.

During data capture, the scanner emits light, laser beams, or uses cameras to measure the surface of an object from multiple angles. Each measurement records the position of a point in 3D space. Thousands or even millions of these points combine to form a point cloud, which is essentially a dense map of the object’s surface geometry. That point cloud is then processed into a mesh, a connected surface made of triangles, which becomes the usable 3D model.

The three most common scanning technologies are:

  • Laser triangulation: Projects a laser line or point onto the surface; a sensor reads the reflected angle to calculate position. Laser triangulation is highly accurate for short-range work and fine detail.
  • Structured light: Projects a pattern of light (often stripes) onto the object and uses cameras to measure how the pattern deforms across the surface. Fast and excellent for medium-sized parts.
  • Photogrammetry: Uses overlapping photographs taken from different angles to reconstruct a 3D model mathematically. Cost-effective and scalable for larger objects.

Learning how 3D scanning optimizes workflows early in a project helps teams avoid costly design revisions later.

Pro Tip: Lighting and object positioning matter more than most people expect. Consistent, diffused lighting reduces shadows and surface noise, which directly improves point cloud density and model accuracy.

A poorly set up scan environment can introduce errors that ripple through every downstream step, from CAD modeling to final part inspection. Investing 15 minutes in proper setup saves hours of cleanup.

Main types of 3D scanning technologies compared

Now that you know the basics, let’s compare the main 3D scanning techniques so you can match the right tool to your project.

Choosing the wrong scanning method is one of the most common mistakes product teams make. Each technology has a distinct performance profile depending on accuracy needs, object size, surface type, and budget.

Technology Accuracy Speed Cost Best for
Laser triangulation Very high Moderate Medium-high Small parts, fine detail
Structured light High Fast Medium Mid-size parts, smooth surfaces
Photogrammetry Moderate Slow Low Large objects, outdoor use
CT scanning Extremely high Slow Very high Internal geometry, medical

Here is a simple process for matching your scanning method to your application:

  1. Define your accuracy requirement. Engineering tolerances under 0.05mm demand laser triangulation or CT scanning.
  2. Assess your object size. Larger objects favor photogrammetry or structured light; small precision parts favor laser-based methods.
  3. Evaluate the surface. Reflective or dark surfaces need special preparation regardless of technology.
  4. Set your budget. Photogrammetry is the most accessible entry point; CT scanning is reserved for high-value inspection needs.
  5. Consider turnaround time. Structured light scanning is typically the fastest for medium-complexity parts.

Understanding the key 3D scanning techniques available helps you ask better questions when working with a scanning service provider.

Pro Tip: For highly detailed engineering parts or small components, laser triangulation consistently delivers the best results. It is the standard choice for high-accuracy work where tolerances are tight and repeatability is critical.

Key benefits for product development and manufacturing

With the options in mind, let’s look at the real business benefits of integrating 3D scanning into your development process.

The most immediate gain is the elimination of manual measurement. Traditional calipers and coordinate measuring machines (CMMs) are slow, operator-dependent, and limited in the complexity of geometry they can capture. 3D scanning captures the full surface of a part in minutes, with far less human error involved.
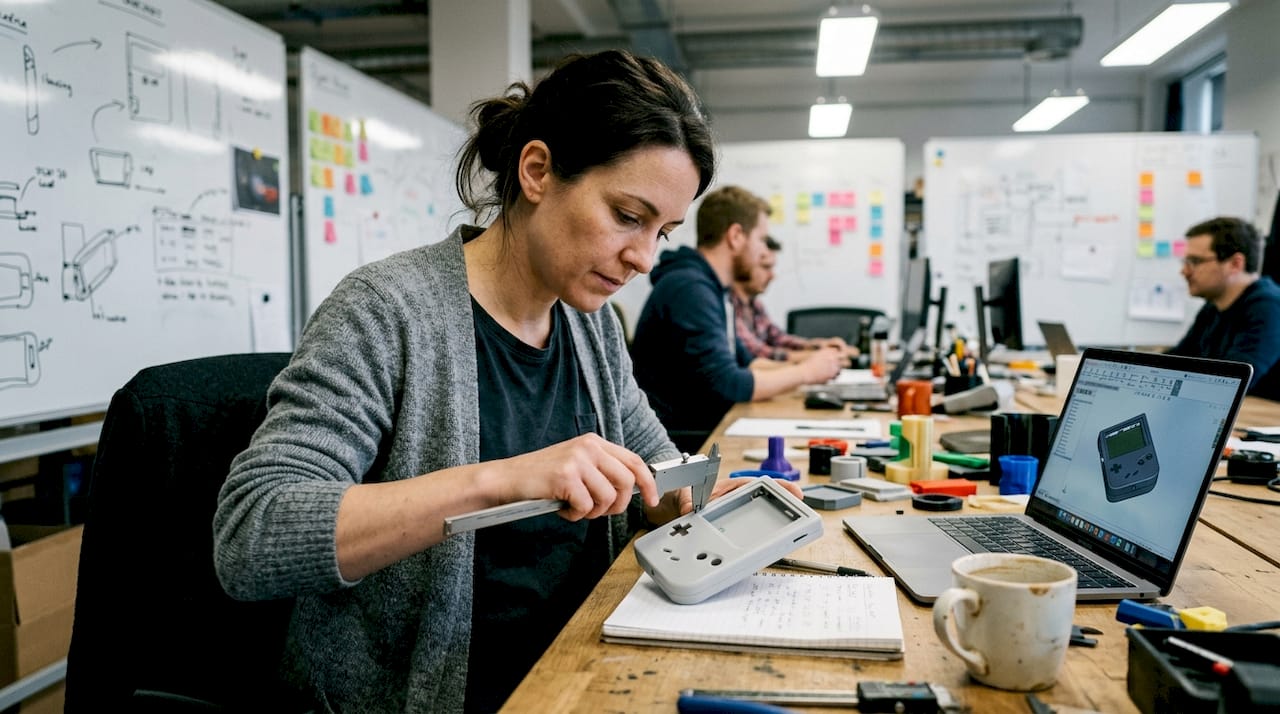
Designer measuring prototype with digital calipers

Workflow factor Traditional method 3D scanning method
Measurement time (medium part) 2 to 4 hours 15 to 45 minutes
Error rate Higher (operator-dependent) Significantly lower
Geometry complexity handled Limited Full freeform surfaces
Iteration speed Slow Fast
Documentation quality Manual records Full digital archive

The real-world impact spans multiple business functions:

  • Part design: Capture existing components with no original CAD file and rebuild them accurately.
  • Reverse engineering: 3D scanning significantly increases accuracy in reverse engineering and prototyping, reducing guesswork entirely.
  • Quality control: Compare scanned production parts against the original CAD model to catch deviations before they become costly defects.
  • Tooling verification: Confirm that molds and fixtures match design intent before committing to full production runs.

Teams focused on ensuring 3D scan quality for manufacturing report faster iteration cycles and fewer engineering change orders. For businesses doing reverse engineering with 3D scanning, the ability to digitize legacy parts without original drawings is a significant competitive advantage.

The compounding effect is real. Fewer errors early in development mean fewer corrections late, which directly reduces cost per prototype and shortens time to market.

From scan to workflow: Where and how 3D data is used

Understanding the benefits, let’s explore where 3D scan data delivers real impact in business workflows.

A raw point cloud is useful, but its true value comes when it is converted into a workable CAD model. Most professional scanning workflows use software like Geomagic, Artec Studio, or SOLIDWORKS to process the point cloud into a clean mesh, then into a parametric CAD file that designers can modify and manufacture from.

Here are the most common ways businesses use 3D scan data:

  • Reverse engineering: Recreate parts with no existing drawings, especially for legacy components or competitor benchmarking.
  • Quality inspection: Overlay the scan against the original CAD model to produce a color deviation map showing where parts are out of tolerance.
  • Tooling and fixture verification: Confirm that production tooling matches design specifications before first-article inspection.
  • Archiving: Build a permanent digital record of physical assets, molds, or prototypes for future reference.
  • Design iteration: Scan a physical prototype, bring it into CAD, refine it, and print or machine the next version faster.

“Modern 3D scanning streamlines the full development pipeline for new and legacy products, reducing the gap between physical reality and digital design intent.”

Exploring 3D scanning in CAD workflows shows just how tightly scanning integrates with modern design tools. Teams that understand using 3D scan data in CAD can move from physical object to production-ready file in a fraction of the time traditional methods require.

The key insight is timing. Scanning should not be an afterthought reserved for inspection. Integrating it early, at the concept and first-prototype stage, is where the biggest gains in speed and accuracy happen.

Common challenges and tips for getting reliable 3D scans

To wrap up the core guide, let’s address the most common snags and how smart teams get reliable results consistently.

Even with good equipment, scan quality can suffer if preparation and technique are not right. Surface type and environment directly influence scan accuracy, and skipping preparation steps is the fastest way to produce unusable data.

The most common challenges and how to address them:

  • Reflective surfaces: Shiny metals and plastics scatter laser or structured light unpredictably. Apply a temporary matte scanning spray to create a uniform, readable surface.
  • Dark or black surfaces: These absorb light rather than reflecting it, creating data gaps. Scanning spray also solves this problem in most cases.
  • Object movement: Even small vibrations during a scan introduce misalignment. Use a stable fixture or turntable to hold the part securely.
  • File misalignment: When combining multiple scan passes, poor alignment creates visible seams in the mesh. Use reference markers (small adhesive targets) placed on the object before scanning to give the software fixed registration points.
  • Calibration drift: Scanners can drift out of calibration over time or with temperature changes. Always run a calibration check before a critical scan session.

Pro Tip: For complex objects that require multiple scan passes, place reference markers on the object before you start. These give the alignment software fixed anchor points, which dramatically reduces mesh errors and cleanup time afterward.

Visit our tips for high quality 3D scanning resource for a deeper breakdown of preparation and post-processing best practices. Proper technique at the scan stage protects every hour of CAD work that follows.

Our take: Why mastering 3D scanning drives real innovation

Most conversations about 3D scanning focus on speed and cost savings. Those are real, but they are not the most important part of the story.

What we see consistently at CC 3D Labs is that businesses which integrate scanning early in their process do not just move faster. They think differently. When your team can digitize any physical object in minutes and bring it into a shared CAD environment, the collaboration between designers, engineers, and production teams changes fundamentally. Decisions get made with real geometry, not assumptions.

The conventional wisdom treats scanning as a QC or reverse engineering tool used after design is mostly done. That is backwards. The teams that leapfrog competitors use real-world 3D scanning insights to inform design from the very first prototype. They catch fit and function issues in the digital model before a single part is machined or molded.

The future of product development is agile, and agility requires closing the loop between physical and digital as fast as possible. 3D scanning is the bridge. Mastering it is not a technical upgrade. It is a strategic one.

Level up your workflow with CC3DLabs 3D scanning and printing solutions

Ready to put these insights into action for your business?

https://cc3dlabs.com

CC 3D Labs offers professional handheld 3D scanning (accuracy to ~0.1 mm) services paired with end-to-end CAD modeling and pro-level 3D printing for product developers and manufacturers near Philadelphia and beyond. Whether you need to digitize a legacy part, verify a production run, or accelerate your prototyping cycle, our team handles the full workflow from scan to finished part. Browse our CAD project gallery to see real examples of scan-to-print projects, or request a free estimate to get started on your next build.

Frequently asked questions

What is 3D scanning used for in business?

Businesses use 3D scanning for design accuracy, prototyping, reverse engineering, and quality control. It significantly increases accuracy in reverse engineering and prototyping compared to manual measurement methods.

Which 3D scanning method is best for fine detail?

Laser triangulation is best for short-range, high-precision applications and is the standard choice for capturing highly detailed or small parts at engineering tolerances.

What impacts 3D scanning accuracy?

Surface reflectivity, ambient lighting, and scanner calibration are the three biggest factors. Surface type and environment require careful preparation to achieve reliable, repeatable scan results.

Can 3D scan data be edited or modified?

Yes. Scan data is processed into a mesh and then converted to a parametric CAD model, which designers can fully edit, refine, and adapt for manufacturing or further prototyping.
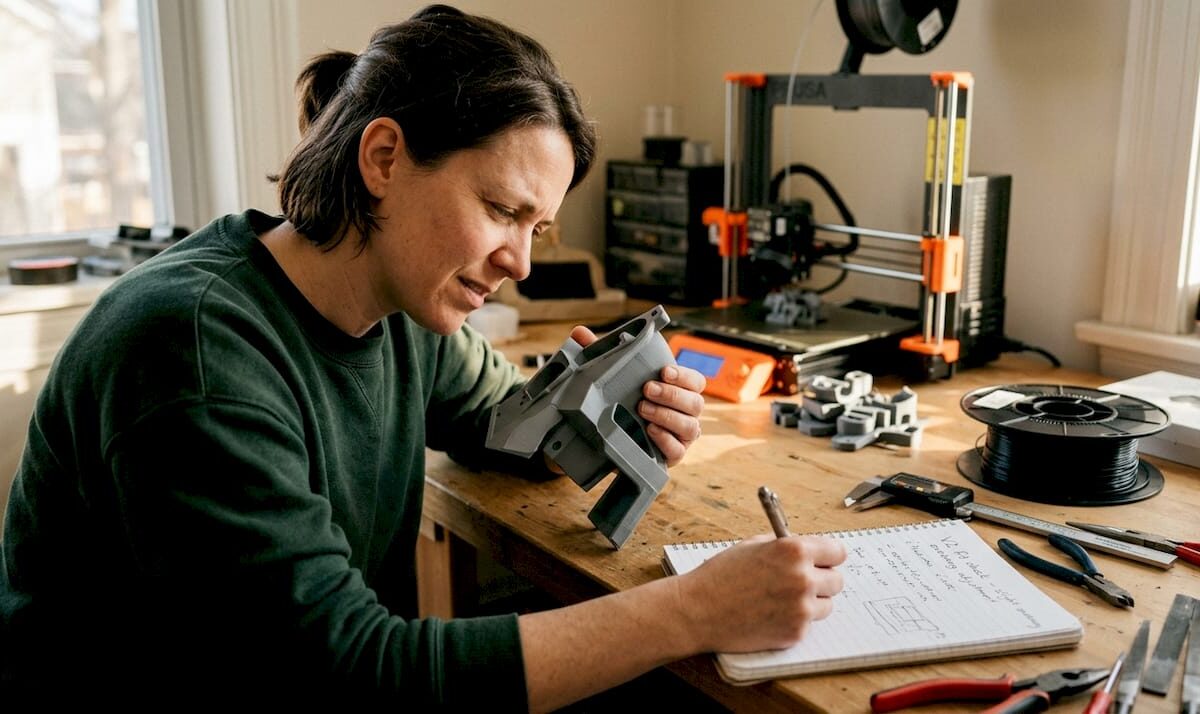
Woman inspecting prototype 3D print at workbench

How to design 3D prints: reliable prototypes & parts


TL;DR:

  • Proper 3D print design requires understanding material, process, and geometry constraints.
  • Orientation and support planning are crucial for part strength, finish, and print success.
  • Final validation with testing and adjustments ensures reliable, functional 3D printed parts.

Poor 3D print design costs more than just filament. Parts that don’t fit, walls that crack under load, or holes too tight for their fasteners can stall an entire product development cycle. The root cause is almost always the same: the design didn’t account for how 3D printing actually works. This guide walks you through every stage, from defining requirements and choosing materials to setting tolerances, orienting parts for strength, and validating your file before the first layer goes down. Follow these principles and you’ll spend less time reprinting and more time building.

Table of Contents

Key Takeaways

Point Details
Start with clear requirements Clarify part function, material, and print method before designing to minimize errors.
Follow proven geometry rules Respect wall thickness, tolerances, and overhang limits for a reliable print.
Orient for strength and ease Align parts for maximum real-world durability and minimize support and warpage risks.
Validate before printing Double-check for potential design errors and simulate part fits or stress if possible.

Gathering requirements and planning your 3D print

Every reliable 3D printed part starts with a clear answer to one question: what does this part actually need to do? That sounds obvious, but it’s where most design problems begin. A concept model shown to stakeholders has completely different requirements than a bracket bolted into a working assembly. Treating them the same way is a fast path to wasted prints.

Start by categorizing your part’s purpose:

  • Concept model: Visual representation only. Dimensional accuracy matters less than speed and cost.
  • Fit and form prototype: Must match final geometry closely so you can test assembly clearances and ergonomics.
  • Functional prototype: Needs to perform under real loads, temperatures, or environmental exposure.
  • End-use part: Must meet full mechanical, chemical, and aesthetic specifications.

Once you know the stage, material selection follows logically. Choosing materials by prototype stage is straightforward: PLA and FDM work well for early concepts, while PETG and Nylon SLS are better suited to functional parts that need toughness and temperature resistance. For materials for durable parts, the tradeoff between cost, printability, and mechanical performance is worth understanding before you commit to a process.

Stage Recommended material Recommended process
Concept PLA FDM
Fit/form PETG, Resin FDM, SLA
Functional Nylon, PETG SLS, FDM
End-use Nylon, Metal SLS, DMLS

The process you choose also determines what design constraints you’ll work within. FDM is affordable and fast but produces visible layer lines and lower Z-axis strength. SLA gives you fine detail and smooth surfaces but can be brittle. SLS produces strong, isotropic parts without support structures. Metal processes offer the best mechanical properties but require tighter design control. Selecting 3D printing methods early in the workflow prevents costly redesigns later.

Also plan ahead for post-processing. If a part will be sanded, painted, or machined after printing, you need extra material stock in those areas. If it will be assembled with hardware inserts, account for heat-set or press-fit tolerances in the original CAD model.

Pro Tip: Write a one-paragraph “part brief” before opening your CAD software. List the function, material preference, process, expected loads, and any assembly interfaces. This single document prevents the most common design drift that leads to reprints.

Design principles: Dimensions, tolerances, and geometry

With your requirements defined, the next step is translating them into geometry that a printer can actually produce reliably. This is where most engineers either over-trust their CAD model or under-estimate how much the printing process changes the final dimensions.

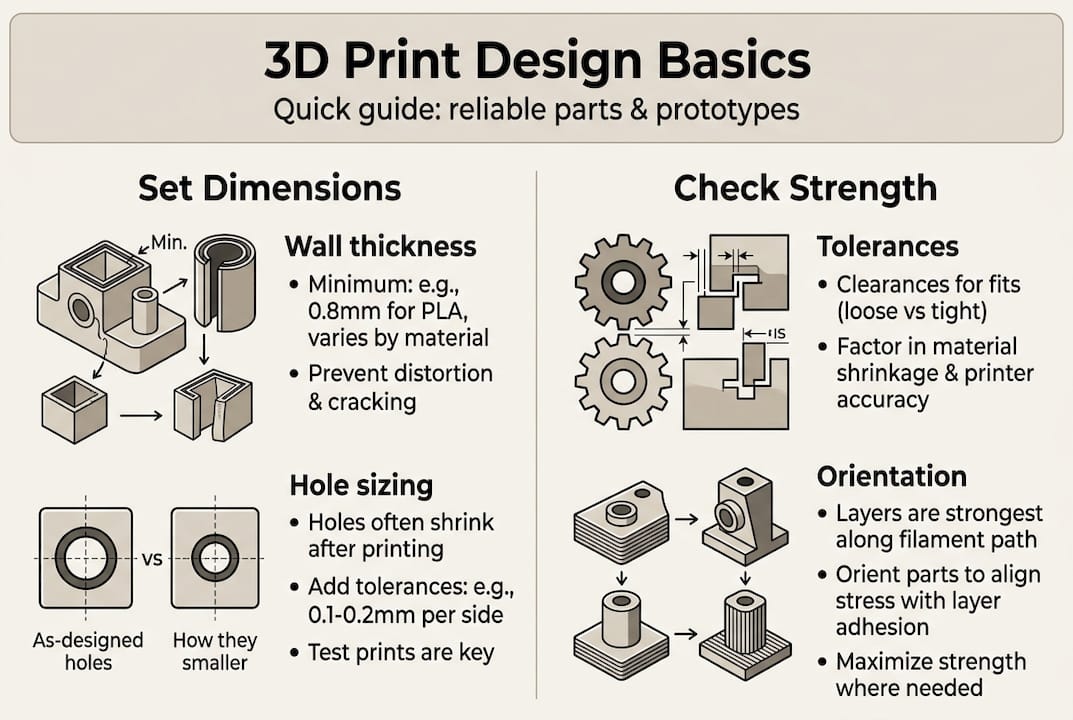
Wall thickness is the first constraint to set. Minimum wall thickness varies by technology: FDM needs at least 1.2mm for structural walls, SLA can go as thin as 0.5mm, SLS works well at 0.8mm and above, and metal processes typically require 0.5 to 1mm depending on geometry. Going thinner than these limits risks incomplete walls, warping, or print failures.

Infographic: 3D printing design basics summary

Tolerances define how closely the printed part matches your CAD dimensions. The numbers matter: FDM holds ±0.2 to 0.5mm, SLA achieves ±0.05 to 0.15mm, SLS and MJF land at ±0.15 to 0.3mm, and metal processes reach ±0.05 to 0.2mm. Design your clearances and fits around these real-world numbers, not theoretical CAD perfection.

Process Typical tolerance Min wall thickness
FDM ±0.2 to 0.5mm 1.2mm
SLA ±0.05 to 0.15mm 0.5mm
SLS/MJF ±0.15 to 0.3mm 0.8mm
Metal (DMLS) ±0.05 to 0.2mm 0.5 to 1mm

Geometry choices have a major impact on print reliability. Follow these rules:

  1. Keep overhangs at or below 45 degrees from vertical to avoid needing supports.
  2. Limit unsupported bridges to 5mm or less for FDM; SLA and SLS handle longer spans better.
  3. Add chamfers or fillets to sharp interior corners to reduce stress concentration.
  4. Orient tall, thin features so they print along the XY plane rather than growing vertically.
  5. For outdoor parts, account for UV and thermal cycling in both material choice and wall thickness.

Holes are a consistent pain point. They almost always print undersized due to material flow and thermal contraction. If your design calls for a 6mm bolt hole, model it at 6.2 to 6.4mm and test before committing to a full batch. Understanding key 3D printing terms like “elephant’s foot” and “shrinkage” helps you anticipate these effects before they show up in your parts.

Anisotropy, meaning the difference in strength depending on direction, is critical for functional parts. The XZ and XY planes are significantly stronger than the Z axis in layer-based processes. Design load-bearing features so stress runs parallel to the print bed, not perpendicular to it.

Pro Tip: Use a tolerance guidelines reference alongside your CAD software. Avoid common geometry mistakes like modeling perfectly vertical walls without draft or adding decorative thin ribs that the printer simply cannot reproduce.

Maximizing strength and function through orientation and supports

Once your dimensions and geometry are locked in, how you orient the part in the build volume becomes one of the most powerful variables you control. Two identical CAD files can produce parts with dramatically different real-world performance based on orientation alone.

Man adjusting 3D print orientation at desk

The core rule is straightforward: orient loads parallel to the XY plane because the Z axis is weaker due to layer bonding. A bracket printed flat on the bed will resist bending forces far better than the same bracket printed standing upright. This isn’t just a guideline, it’s the physical reality of how layers fuse.

Here’s what to consider when choosing orientation:

  • Place the largest flat surface on the build plate to maximize adhesion and minimize warpage.
  • Orient critical surfaces face-down for SLA to get the best surface finish where it matters.
  • For SLS and MJF, orientation affects surface texture but not strength as dramatically, since these processes are more isotropic.
  • Avoid orienting thin walls vertically in FDM; they’re prone to vibration and layer separation.
  • Minimize the number of support structures needed, especially in hard-to-reach internal cavities.

Supports are necessary in many designs, but they add print time, cost, and post-processing work. Overhang limits for FDM and SLA are typically 45 degrees without supports. Beyond that angle, you need either supports or a design change. SLS and MJF don’t require supports because unsintered powder holds the part during printing, which is one of their biggest practical advantages.

“The best support is the one you design out of the model entirely.” Redesigning an overhang as a chamfer or splitting a complex part into two printable pieces often saves more time than any slicer setting.

Warpage is another orientation-related risk, particularly with large flat parts in FDM using ABS or Nylon. These materials shrink as they cool, and if the base isn’t properly adhered to the build plate, corners lift. Solutions include using a brim, printing on a heated enclosure, or redesigning the part to reduce large flat areas.

Infill pattern and density also affect real-world durability. PLA and ABS strength data shows that gyroid and honeycomb infill patterns outperform rectilinear patterns in multi-directional loading scenarios. For functional parts, 40 to 60% infill with a gyroid pattern is a strong default. For visual models, 15 to 20% is usually sufficient.

See prototype orientation examples from real projects to understand how these decisions play out in practice.

Pro Tip: When in doubt about orientation, print a small proxy section of the critical feature at two orientations and do a quick break test. Ten minutes of test printing can save hours of redesign.

Final checks: Validating your design before printing

A well-designed part can still fail if the file has errors or the design hasn’t been verified against real print constraints. This final validation step is where you catch the issues that CAD software doesn’t flag automatically.

Start with a geometry audit. Work through this checklist before exporting:

  1. Check all wall thicknesses against the minimum for your chosen process.
  2. Confirm no non-manifold edges or inverted normals exist in the mesh.
  3. Verify that all mating surfaces have appropriate clearances modeled in.
  4. Ensure hollow parts have escape holes of at least 3 to 5mm diameter for SLS powder removal, with at least two per enclosed cavity.
  5. Review overhangs and bridges against your process limits.
  6. Confirm the part fits within the printer’s build volume with room for orientation adjustment.

Holes deserve special attention. Holes print undersized due to material shrinkage and bridging effects, so scale them up in your model before exporting. A test print of just the hole feature costs almost nothing and confirms your compensation factor before you print the full part.

Check FDM SLA SLS
Hole compensation +0.2 to 0.4mm +0.1mm +0.1 to 0.2mm
Min escape hole N/A N/A 3 to 5mm dia.
Clearance per side 0.2 to 0.4mm 0.1mm 0.2 to 0.5mm
STL export resolution 0.01mm chord 0.005mm chord 0.01mm chord

File format matters more than most people realize. Export to STL or 3MF with a resolution tight enough to preserve fine features, but not so high that the file becomes unmanageable. Review best CAD file formats for 3D printing workflows to make sure your export settings match your process.

Validating with a proxy print, a small section of the most complex feature, before committing to a full run is one of the highest-value steps in any prototyping workflow. Realistic tolerance targets vary by process and should be confirmed empirically, not assumed from spec sheets.

Finally, plan your post-processing steps before printing. If a part will be tapped for threads, drilled, or bonded, those operations need to be accounted for in the original geometry. Iterative refinement is faster and cheaper when each cycle is short and targeted.

Why smart design is the make-or-break factor for 3D printed part success

Here’s something we’ve learned from working through dozens of prototyping projects: following a design guideline checklist is necessary, but it’s not sufficient. The engineers who get the best results aren’t the ones who memorize tolerance tables. They’re the ones who treat every first print as a learning event, not a finished product.

The uncomfortable truth is that overengineering tolerances early in a project slows everything down. Spending three days perfecting a 0.05mm clearance on a concept model that will be redesigned anyway is wasted effort. The smarter move is to print fast, test fast, and tighten tolerances only when the design is stable.

We’ve also seen the opposite failure: teams that trust their CAD model so completely that they skip proxy prints entirely, then discover a fundamental fit issue after a full production run. No simulation replaces an actual printed part in your hand.

The best design workflows we’ve seen treat the printer as a feedback tool. Each iteration teaches you something specific: this wall is too thin, this clearance is too tight, this orientation produces a better surface finish. Explore real-world applications to see how this iterative mindset produces better outcomes across industries. Smart design isn’t about getting it perfect the first time. It’s about getting useful information faster.

Need professional help? Streamline your next 3D print project

Designing for reliable 3D printing takes experience that builds over many iterations. If you’re working on a tight deadline or need production-grade parts without the trial-and-error cycle, professional support makes a measurable difference.

https://cc3dlabs.com

At CC 3D Labs, we work with product developers and businesses to take designs from CAD to finished parts with confidence. Whether you need guidance on material selection, help optimizing geometry for your chosen process, or a full run of functional prototypes, our 3D printing services are built around your requirements. Check out our on-demand 3D prints for fast turnaround on custom parts, or read our guide to rapid prototyping to plan your next development cycle. Get a free online estimate and let’s build something that works.

Frequently asked questions

What is the minimum wall thickness for FDM, SLA, SLS, and metal 3D printing?

For reliable prints, use at least 1.2mm with FDM, 0.5mm with SLA, 0.8mm with SLS, and 0.5 to 1mm with metal processes. Going below these limits risks incomplete walls and structural failures, as minimum wall thickness varies by technology.

How much clearance do I need for moving assemblies in 3D prints?

Typical clearances are 0.2 to 0.4mm per side for FDM and 0.1mm per side for SLA, with SLS needing 0.2 to 0.5mm for sliding fits. These values account for clearance in 3D print assemblies and should be confirmed with a test print before full production.

Why do 3D printed holes turn out undersized?

Material shrinkage and bridging effects cause holes to print undersized, so you should scale up hole diameters in your design by 0.1 to 0.4mm depending on the process. Always verify with a test print before committing to a full run.

How does part orientation affect strength in 3D printing?

Parts are strongest in the XY plane but weaker along the Z axis due to layer lines, so orient loads parallel to the XY plane when possible. This single decision can significantly extend the functional life of a printed part.

What are escape holes and why are they important in SLS 3D printing?

Escape holes, at least 3 to 5mm in diameter, allow removal of unsintered powder trapped inside hollow SLS parts after printing. Without them, powder remains locked inside the part and can cause defects or add unwanted weight.