TL;DR:
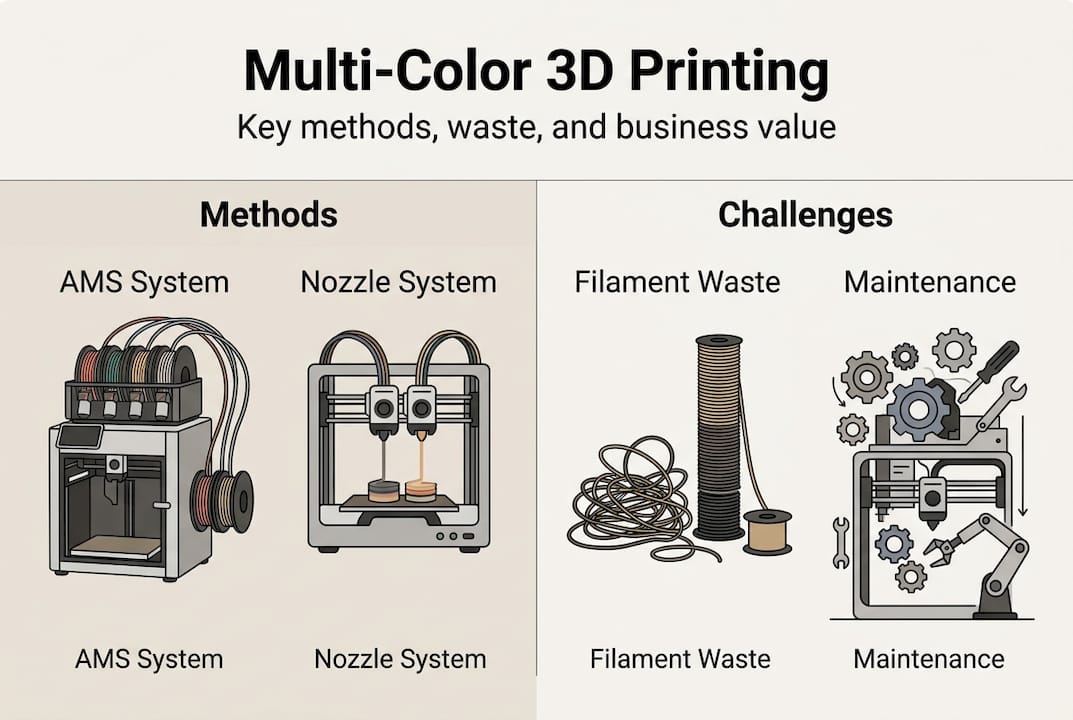
- Multi-color 3D printing in FDM requires matching techniques to specific hardware types, from manual filament swaps to multi-toolhead systems. Software like PrusaSlicer supports color assignment and preview, enabling effective control over complex multi-color models. Advanced systems such as the MMU3 and multi-toolhead printers offer higher fidelity and lower waste, but manual swaps remain accessible for simpler projects.
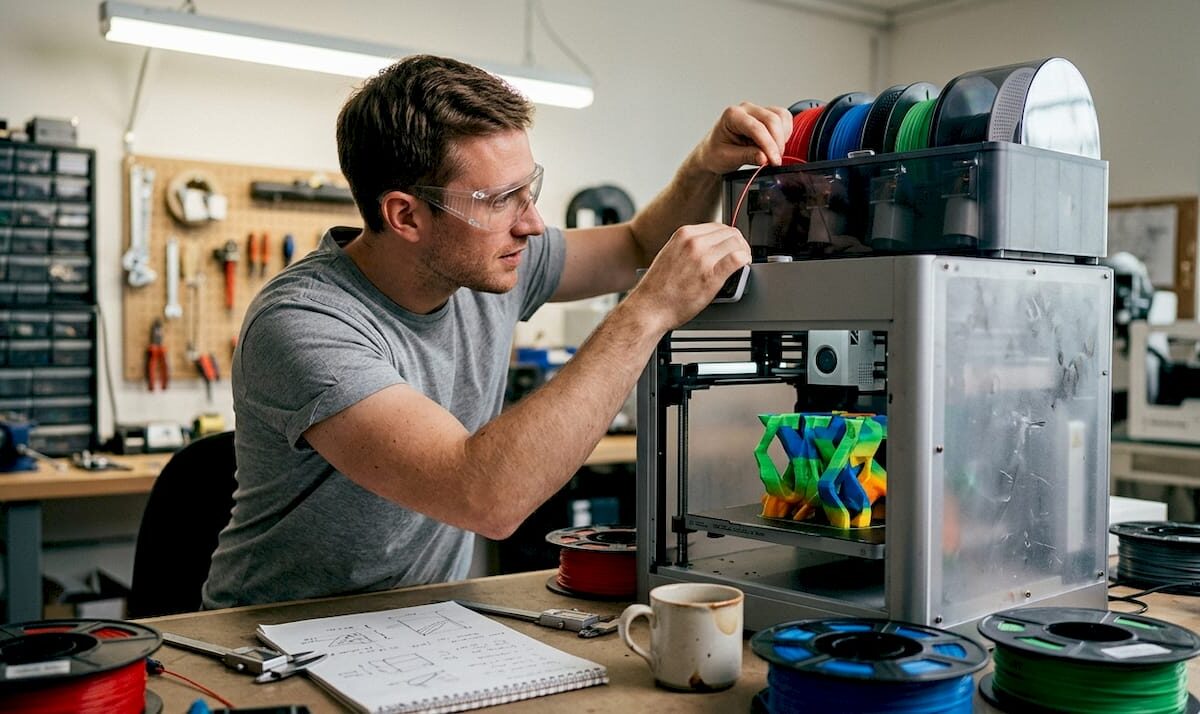
Multi-color 3D printing is one of the most exciting capabilities in FDM printing today, but getting it right takes more than just loading a colorful filament. If you want to know how to create multi-color prints that actually look sharp, you need to understand which workflow matches your hardware, how slicers handle color assignment, and where most creators go wrong. This guide walks you through every major approach, from simple manual filament swaps on a single-extruder machine all the way up to multi-toolhead systems, with practical tips at every level.
Table of Contents
- Key Takeaways
- How to create multi-color prints: tools and setup
- The manual filament change method
- Using multi-filament add-ons like the MMU3
- Advanced multi-toolhead and multi-nozzle systems
- Troubleshooting common multi-color print problems
- My take on where multi-color printing actually stands
- Take your multi-color prints further with Cc3dlabs
- FAQ
Key Takeaways
| Point | Details |
|---|---|
| Match method to hardware | Your printer type determines which multi-color technique is actually achievable without modifications. |
| Use 3MF over STL | STL files strip color data; 3MF format keeps color regions intact for clean slicer assignment. |
| Purge waste adds up fast | Filament purging between color changes can exceed the volume of the model itself if not managed carefully. |
| MMU3 unlocks five colors per layer | Multi-filament add-ons like the Prusa MMU3 allow true per-layer color mixing without manual pauses. |
| Slicer preview is non-negotiable | Always verify filament assignments in slicer preview before sending a multi-color job to the printer. |
How to create multi-color prints: tools and setup
Before you touch a slicer, you need the right hardware and software in place. The method you use to produce multi-color prints depends almost entirely on your printer setup.
Printer types for multi-color printing:
- Single-extruder printers (e.g., Prusa MK4S): Support manual filament swaps between layers. Simple, low-cost, but limited to one color per layer at a time.
- Multi-filament add-ons (e.g., Prusa MMU3): Attach to a single-extruder printer and automate filament switching, supporting up to five colors.
- Multi-extruder or multi-toolhead printers (e.g., Prusa XL): Feature independent printheads per color, offering the cleanest transitions and lowest purge waste.
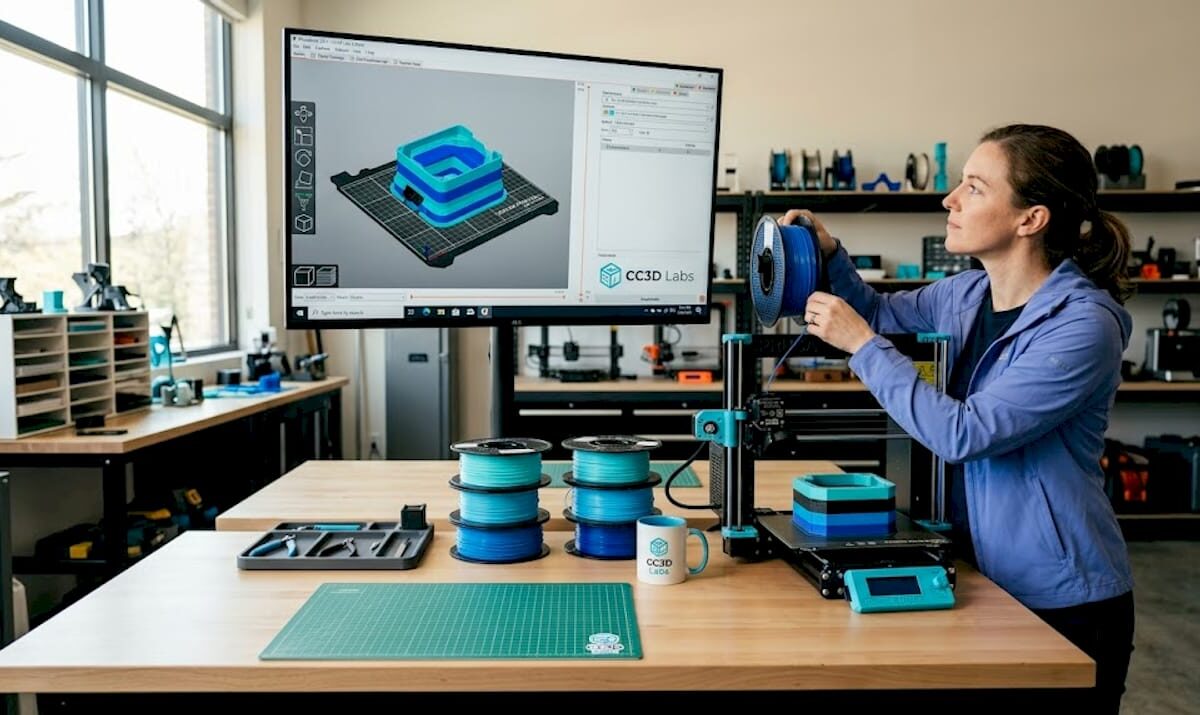
Software matters just as much as hardware. PrusaSlicer is the go-to option for most multi-color workflows because it supports model painting and color assignment using brushes and smart fill tools. BambuStudio offers similar functionality for Bambu hardware. Both let you preview filament assignments per object before printing.
For filament materials, PLA is the easiest starting point since it sticks well between layers and comes in hundreds of colors. PETG is a step up in durability. When mixing filament types across extruders, check compatibility first. Running PLA in one nozzle and TPU in another on the same layer can cause adhesion failures if temperature settings are not optimized.
| Hardware Option | Colors Possible | Waste Level | Best For |
|---|---|---|---|
| Single extruder + manual swap | 2 to 6 (layer-based) | Low | Beginners, simple designs |
| MMU3 add-on | Up to 5 per layer | Medium | Hobbyists, detailed models |
| Multi-toolhead (XL) | Up to 5 per layer | Low to medium | Professionals, high fidelity |
| Multi-nozzle carousel systems | 12+ colors | Very low | Advanced, specialized use |
Pro Tip: Always slice your model at 100% scale before assigning colors. Re-scaling after color regions are painted in the slicer can shift assignments and create mismatches at boundaries.
The manual filament change method
The most accessible path to making colorful prints on any FDM printer is the manual filament swap method. You do not need any add-ons or extra hardware. What you do need is a slicer that supports color change markers and the patience to babysit the printer during the job.
Here is how to do it step by step:
- Prepare your model. Keep it simple for your first attempt. A flat logo or layered badge works perfectly because the color regions align naturally with horizontal layers.
- Set color change markers in your slicer. In PrusaSlicer, right-click on the layer preview timeline and add a “Color Change” marker at the exact layer height where you want the transition. The printer will pause and prompt you to swap filament. Manual color change automatically pauses at the specified layer.
- Swap the filament. When the printer pauses, unload the current filament, load the new color, and purge until the new color runs clean through the nozzle. Do not rush this step.
- Resume the print. Confirm the swap in the printer interface and watch the first few layers to confirm the color is correct before walking away.
Limitations to know upfront: The manual swap method cannot blend two colors within a single layer. Every color change applies to a full horizontal layer and above. That means complex multi-color graphics with side-by-side colors in the same layer are not achievable this way.
Pro Tip: Print a small purge block next to your model. It catches residual color bleed without contaminating your actual print, and you just discard it when done.
A few common mistakes to avoid:
- Pulling the filament too fast during unload and leaving a clog at the nozzle tip
- Not purging enough material before resuming, which causes color spotting on the first few layers of the new color
- Forgetting to re-level the bed after a swap if the printer was bumped
Using multi-filament add-ons like the MMU3
When you want more than two or three colors without standing at the printer for hours, a multi-material unit changes everything. The Prusa MMU3 attaches to a compatible Prusa printer and manages automated filament loading and unloading across up to five spools.
How the MMU3 workflow works:
- You load up to five filament spools into the MMU3 unit and thread them into the selector.
- In PrusaSlicer, you paint different regions of your model with different filament assignments using the brush or smart fill tool.
- During printing, the MMU3 unloads the active filament, selects the next one, and loads it into the nozzle automatically.
- Purge material is deposited into a wipe tower printed alongside your model, using an efficient unload method similar to a cold pull to reduce waste.
The filament mapping UI in PrusaSlicer also lets you reassign which filament slot handles which model region. If a spool runs out mid-print, you can remap to a backup without starting over. That is a genuinely useful feature on longer jobs.
| Feature | MMU3 | Manual Swap |
|---|---|---|
| Colors per layer | Up to 5 | 1 |
| Requires user intervention | No | Yes |
| Purge waste | Medium (wipe tower) | Low (manual purge) |
| Setup complexity | Moderate | Minimal |
| Best color separation | Excellent | Layer-level only |
Managing the wipe tower is one of the bigger decisions in the MMU3 workflow. You can reduce its size in slicer settings, but go too small and you get color contamination between transitions. For most hobbyist projects, leaving the wipe tower at default settings and optimizing later is the right call.
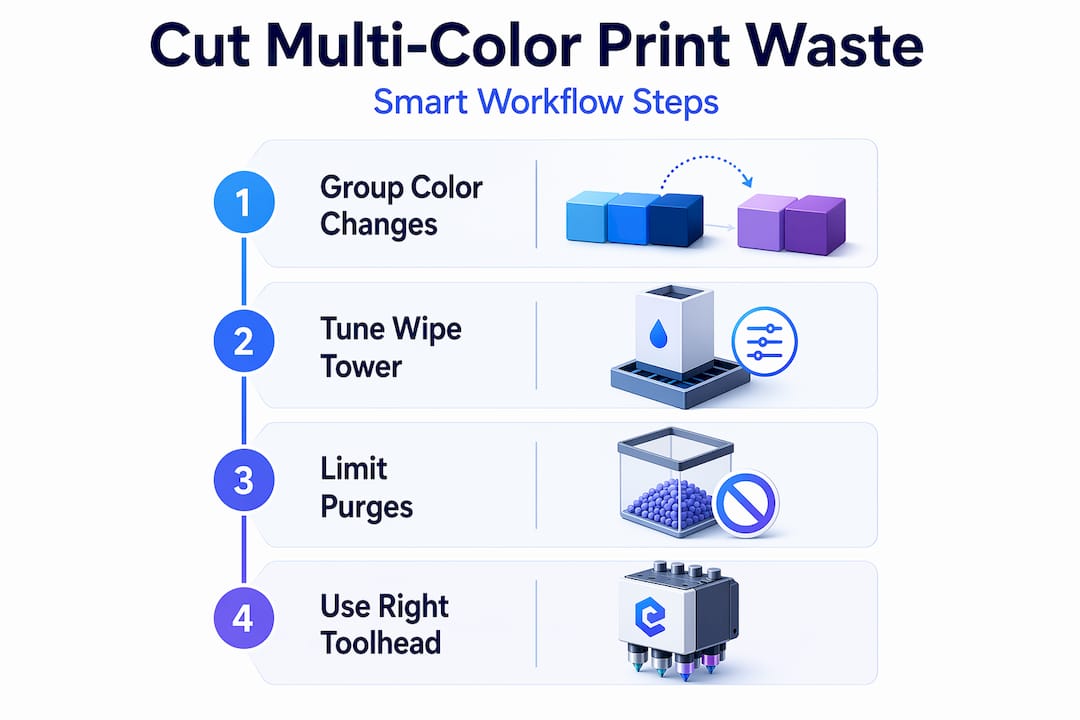
Pro Tip: Group your color changes so that adjacent layers use the same filament as often as possible. Fewer actual switches per layer means a smaller wipe tower and faster print times.
Advanced multi-toolhead and multi-nozzle systems
Multi-toolhead printers represent the highest level of multi-color printing available to creators today. Instead of routing different filaments through a single nozzle (which always requires purging), these machines physically swap the entire printhead for each color.
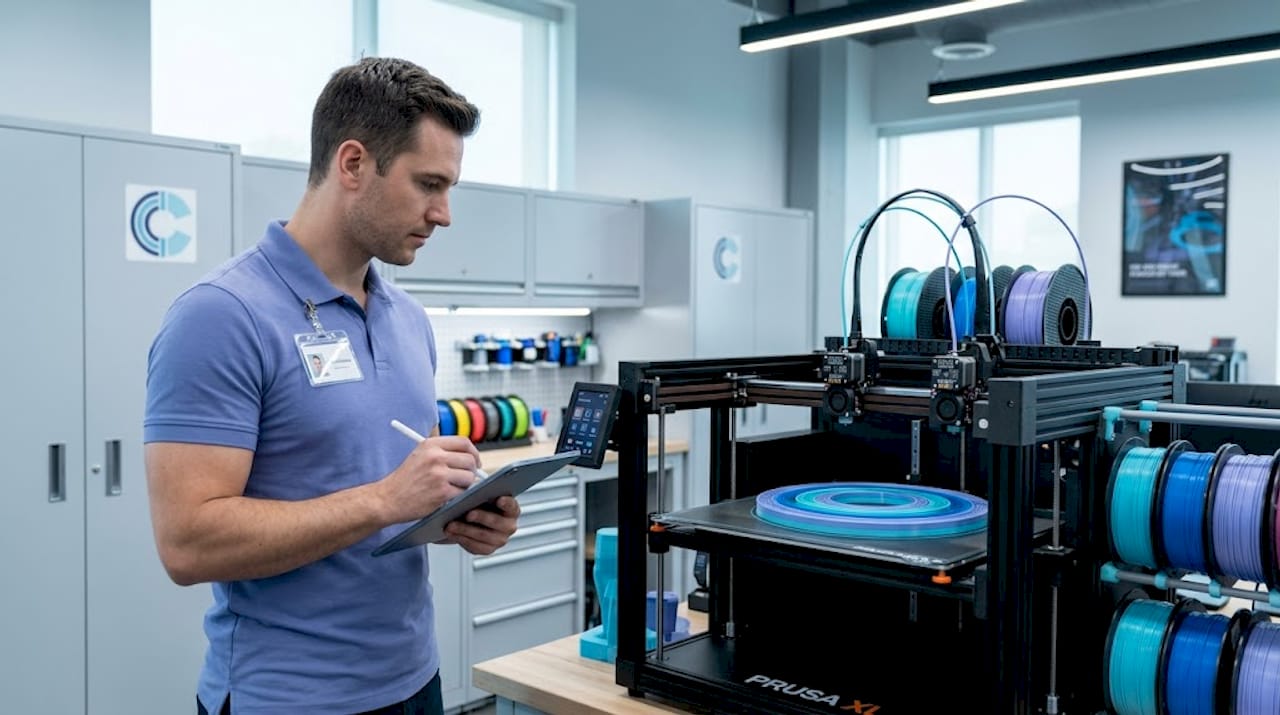
The Prusa XL toolchanger supports up to five independent tool heads, each with its own extruder and nozzle. When a color switch is needed, the printer docks the current head and picks up the next one. Because no filament residue remains in a shared nozzle, the wipe tower shrinks dramatically and color fidelity improves.
Even further along the spectrum are carousel-style multi-nozzle systems. A 12-nozzle rotating printer cuts the filament and rotates a new nozzle into position rather than purging, which nearly eliminates purge waste entirely. This approach solves one of the most persistent pain points in multi-color FDM printing.
Advantages of multi-toolhead systems:
- True per-layer color placement with no bleed between regions
- Different nozzle sizes per tool head (detail nozzle for fine color work, larger nozzle for structural infill)
- Support for mixed materials in a single print, such as flexible TPU alongside rigid PLA
- Lower filament waste than MMU-style systems on complex multi-color models
The tradeoff is cost and footprint. The Prusa XL costs several times more than a standard MK4S. For a hobbyist running occasional multi-color projects, the MMU3 add-on delivers strong results at a fraction of the price. For creators producing high-detail multi-color work regularly, or running batch multi-color jobs, a toolchanger system pays off quickly in time and material savings.
Troubleshooting common multi-color print problems
Even with a solid setup, multi-color prints introduce failure modes that single-color jobs never surface. Here is how to address the most common ones.
Color bleeding between regions is the most frustrating issue. It usually means your wipe tower is too small, your purge volume is too low, or your retraction settings are not tuned. Increase the wipe tower width in slicer settings by 10mm increments and re-test until transitions run clean.
Filament misloads with MMU systems often happen when you mix pause-based color swaps with object-based painting in the same print job. Verify your slicer preview carefully before printing and avoid combining both methods in a single file.
File format matters more than most creators realize. The STL format lacks color data, which means every color assignment has to be done manually in the slicer after import. A 3MF file, by contrast, carries color region assignments directly. If you are designing your own multi-color model, export from your CAD software as a multi-body 3MF where each color is a separate object. It saves a significant amount of setup time.
Pro Tip: Tools like MosaicFlow use AI to separate color regions from an uploaded image and export a ready-to-slice 3MF file. For creators who want to turn artwork or logos into multi-color prints quickly, this shortcut is worth knowing.
For anyone dealing with purge waste exceeding model volume, the first fix is reducing unnecessary color switches. Review your slicer’s layer preview and consolidate layers where the color change order does not affect appearance. Every eliminated switch saves filament and print time.
File preparation and slicer settings are where most multi-color prints are won or lost. The printer does exactly what the G-code tells it to.
My take on where multi-color printing actually stands
I’ve worked hands-on with multi-color FDM setups across the spectrum, from basic layer swaps to full toolchanger systems, and my honest view is that we are in a genuinely interesting period for this technology.
The manual filament swap method gets a lot of dismissal, but I think it is underrated for specific use cases. If you want a clean two-tone or three-tone print and you are not in a hurry, it produces surprisingly sharp results with zero additional hardware investment. The limitations are real, but so is the simplicity.
What I’ve learned about MMU-style systems is that patience with setup pays dividends later. The first time I dialed in a wipe tower and filament mapping on a complex five-color badge print, I spent three hours on prep and ten minutes on the actual print. That ratio flips fast once the workflow clicks.
The biggest shift I’ve seen recently is software catching up to hardware. The multi-color 3D printing methods available now are genuinely more accessible than they were two years ago, largely because slicers have gotten smarter about color assignment and waste reduction. The hardware innovations are exciting, but software is what makes them usable for everyday creators.
My advice: start with manual swaps to understand how color transitions work physically, then graduate to an MMU-style add-on when you want automation. Only invest in a toolchanger system if multi-color printing is a core part of your workflow, not an occasional experiment.
— Justin
Take your multi-color prints further with Cc3dlabs
If you have pushed your home setup as far as it goes and want genuinely professional results, Cc3dlabs is the next step worth considering.

Cc3dlabs operates near Philadelphia and specializes in professional multi-color printing for creators, product developers, and businesses. Their team works with advanced multi-filament FDM systems to produce high-fidelity color prints across prototypes, display models, and functional parts. Whether you need a single detailed prototype or a production batch, Cc3dlabs handles the file prep, material selection, and print execution so you get clean, repeatable results without the learning curve. Get a free online estimate through their 3D printing services page, and see what professional-grade multi-color capability actually looks like.
FAQ
What are multi-color prints in 3D printing?
Multi-color prints are FDM 3D printed objects that incorporate two or more filament colors in a single model. They are produced through manual filament swaps, multi-filament add-ons, or multi-toolhead printers depending on the desired complexity.
Can any FDM printer make multi-color prints?
Yes. Any FDM printer can produce basic multi-color prints using manual filament changes at specified layer heights. For per-layer color placement and more than two colors, a multi-filament add-on or multi-extruder system is required.
How do I reduce waste when printing in multiple colors?
Minimize the number of color switches per layer, increase wipe tower efficiency in your slicer, and consider a toolchanger system for high-color-count jobs, since purge waste can exceed model volume in standard MMU setups.
What file format works best for multi-color 3D printing?
3MF is the preferred format because it retains color region assignments that STL files cannot store. Designing multi-body models where each color is a separate object makes slicer color assignment much faster and more accurate.
How many colors can I print at once with FDM?
Manual filament swaps support as many colors as you are willing to swap, but only one color per layer. The Prusa MMU3 supports up to five colors simultaneously per layer, while advanced carousel nozzle systems can handle twelve or more.