
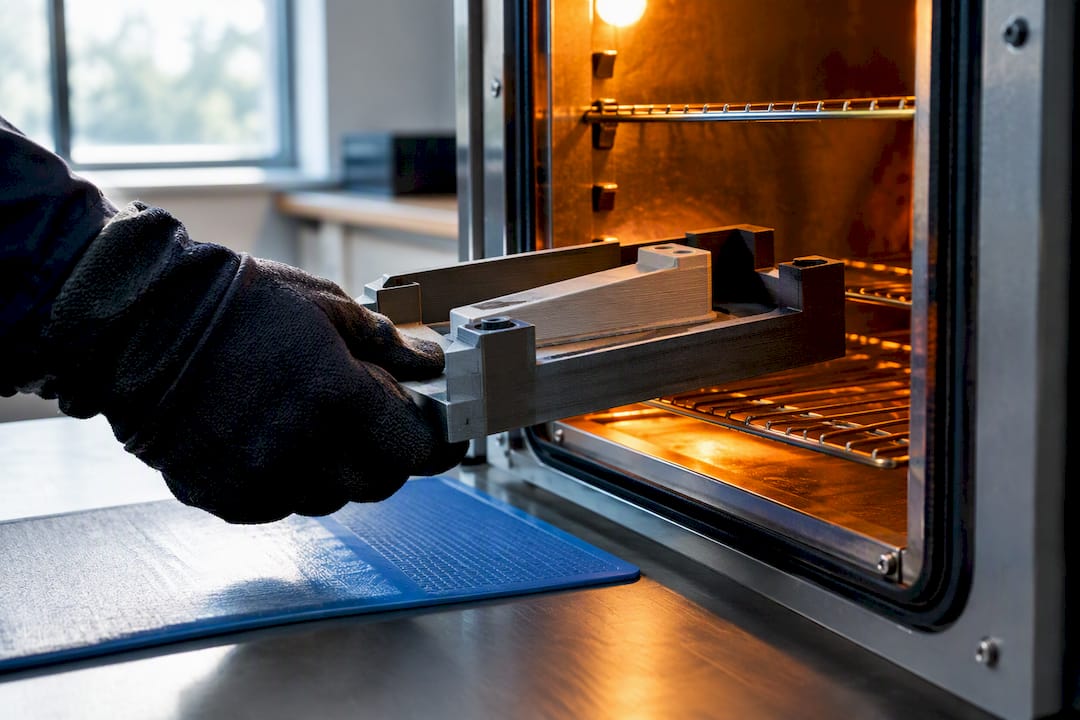
Annealing helps most when your part is printed in a semi-crystalline polymer like PLA, HT-PLA, or nylon, or when an amorphous polymer like ABS needs stress relief rather than tighter tolerances. Expect a real trade-off: better heat resistance and toughness in exchange for measurable shrinkage. If tolerances matter more than heat performance, print a small test coupon first and match your temperature and dwell time to the material before committing a full production run.
TL;DR:
- Annealing benefits semi-crystalline polymers like PLA, HT-PLA, and nylon by increasing heat resistance through crystallization, but causes measurable shrinkage.
- For amorphous polymers like ABS and PC, annealing mainly relieves internal stress without significant crystalline development, with potential for dimensional instability and warping.
- Material-specific optimal annealing temperatures range from 80°C to 100°C for PLA and HT-PLA, while PC requires immediate transfer to a heated environment at around 90°C to prevent delamination.
- Controlling heat distribution with forced-air ovens or embedding parts in sand reduces risks of warping, shrinkage, or delamination during the process.
- Testing a small, representative coupon in the same material and infill before full-scale annealing helps determine the feasibility for parts with tight tolerances or complex geometries.
Table of Contents
- How annealing works: crystallization versus stress relief
- PLA, PETG, ABS, PC, and nylon respond very differently to heat
- Setting up a safe, repeatable annealing process at home or in a shop
- Warping, shrinkage, and delamination: what actually goes wrong
- Testing before you commit a production part
- How CC 3D Labs approaches annealed and dimensionally sensitive parts
- What the research actually supports, and where shop habits get ahead of it
- Get a quote for annealed or dimensionally controlled parts
- Sources
- FAQ
How annealing works: crystallization versus stress relief
Annealing means holding a printed part at an elevated temperature for a set time, then cooling it slowly. What happens inside the plastic during that hold depends entirely on the polymer’s internal structure, and that distinction decides whether annealing is worth doing at all.
Semi-crystalline polymers, including PLA, HT-PLA, and nylon, contain regions where polymer chains can pack into ordered, crystalline structures alongside disordered amorphous regions. Heating these materials above their glass transition temperature (Tg) but below their melting point lets the amorphous chains rearrange and lock into additional crystalline structure. That process, called crystallization, is the mechanism behind most of the heat resistance gains reported for annealed PLA and HT-PLA parts.
Amorphous polymers like ABS and PC have no crystalline structure to grow. Heating them mainly relieves internal stress that built up during rapid cooling in the print process. Annealing amorphous materials like ABS can increase ductility by 9.7 to 17.56 percent at higher annealing temperatures, which reflects stress relief and improved interlayer cohesion rather than any new crystalline content.
Choosing the right temperature means knowing where Tg and the crystallization temperature (Tc) sit for your material. Anneal too close to Tg and little happens. Anneal too close to Tc, or above it, and you risk softening the part enough to lose its shape.
Annealing tends to help:
- Heat deflection temperature (HDT) or Vicat softening temperature (VST), often the biggest single gain
- Tensile and flexural strength, particularly in reinforced blends
- Impact resistance in several published PLA studies
Annealing does not fix:
- Poor layer adhesion from underextrusion or a cold nozzle, a separate print-quality issue covered in our guide to layer adhesion in 3D prints
- Anisotropic weakness along the Z axis, since annealing does not re-fuse layers, it just relaxes stress within them
- Warping caused by design geometry, which annealing can actually make worse by softening the part while internal stresses release unevenly
Pro Tip: Before annealing a finished part, print a scrap coupon in the same material and infill, and run your intended temperature and time on that piece first. It costs you a few grams of filament and saves a production part.
PLA, PETG, ABS, PC, and nylon respond very differently to heat
Every material family reacts to annealing on its own terms, and matching temperature to polymer chemistry is the single most important decision in the process.
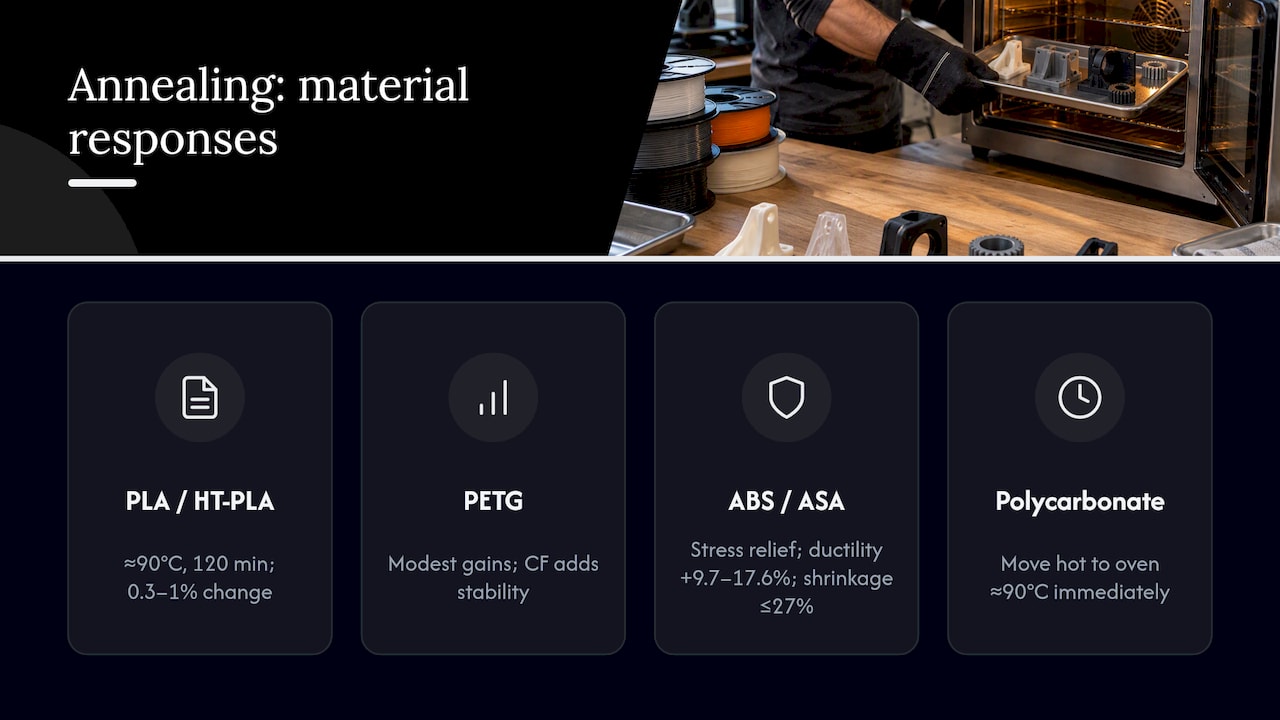
PLA and HT-PLA. Standard PLA anneals well in the 80 to 100°C range. Optimized thermal annealing work found roughly 90°C for 120 minutes produced strong mechanical improvements in PLA, with temperature accounting for most of the variation in outcomes across the tested conditions. Other published work on PLA and PLA blends found impact strength and Vicat softening temperature rising after 0.5 to 2 hours at 80 to 100°C. HT-PLA, formulated specifically for post-print heat treatment, is typically annealed around 100°C, with Polymaker recommending 30 to 60 minutes for parts under 4 millimeters thick and one to two hours for parts near 6 millimeters, expecting roughly 0.3 to 0.6 percent dimensional change. Standard PLA parts can see dimensional shifts in a similar range, sometimes up to about 1 percent depending on geometry and infill.
PETG and PETG with carbon fiber. PETG is less crystalline by nature and responds to annealing with more modest strength gains than PLA. Carbon-fiber-reinforced PETG tends to hold its shape better during annealing than the unfilled resin, since the fibers constrain how much the surrounding matrix can shift as it heats. That added dimensional stability is one reason CF-reinforced filaments show up often in parts intended for post-process heat treatment.
ABS and ASA. These amorphous materials benefit mainly from stress relief rather than crystallization gains. A 2025 study on FDM-manufactured ABS parts found annealing in typical and loaded modes raised ductility by 9.7 to 17.56 percent at certain temperatures, but the same research also recorded shrinkage of up to roughly 27 percent in one printing-direction axis under aggressive annealing conditions. That gap between the ductility win and the shrinkage risk is exactly why loaded annealing, which mechanically constrains the part while it softens, matters so much for ABS: the same study found it meaningfully reduced dimensional change while preserving the ductility improvement. Recycled carbon fiber reinforcement adds another layer of benefit. Research on rCF-reinforced ABS reported tensile strength gains up to 12.64 percent and flexural strength gains up to 42.33 percent for 20 weight percent rCF samples after annealing, along with better dimensional stability than unreinforced ABS. If you are weighing materials for a durable part before you even get to annealing, our comparison of PLA, PETG, and ABS is worth reading first.
Polycarbonate. PC is the one material where timing is not optional. Polymaker recommends transferring PC parts directly into an oven held at about 90°C immediately after printing, and holding them there for at least 2 hours. Letting a printed PC part cool to room temperature before annealing risks internal delamination and lost layer adhesion that the anneal cycle cannot reverse.
Nylon and CF-reinforced nylon. Nylon anneals at comparatively low temperatures, commonly 80 to 100°C, but for many hours rather than minutes. The bigger complication is moisture: annealing dries nylon out, and Polymaker’s guidance notes that practitioners recondition annealed nylon by exposing it to ambient humidity for hours or days afterward to restore the ductility nylon needs to perform as intended. Carbon-fiber-reinforced nylon and other CF composites showed particularly strong results in published testing, with large flexural improvements and better anneal-related dimensional stability than their unreinforced counterparts, likely for the same reason CF helps PETG: the fibers resist the matrix’s tendency to shift as it softens.
Across nearly every material tested, one variable kept outranking the anneal itself. A regression-model study found layer height had a larger effect on final tensile strength than either annealing time or annealing temperature, with one tested combination of 0.1 millimeter layers, 60 minutes, and 90°C producing the best results for PLA. Annealing is a refinement of a good print, not a substitute for one.
Setting up a safe, repeatable annealing process at home or in a shop
Getting consistent results from annealing depends less on the material and more on how evenly you can hold a target temperature. A cheap household oven with a swinging thermostat can undo a well-chosen temperature range by overshooting it in hot spots.
- Check your oven’s real temperature. Place an independent thermometer or thermocouple inside the oven near where the part will sit, run a cycle, and compare the reading against the dial setting before you commit an actual part.
- Preheat before loading. Bring the oven to the target temperature first rather than putting the part in during warmup, which limits its exposure to overshoot spikes.
- Favor forced-air or convection ovens. Polymaker’s guidance notes that household ovens have uneven heat distribution and hot spots, and recommends forced-air or convection ovens, or heat-diffusing media, as a workaround when a dedicated unit is not available.
- Diffuse heat with sand or foil. Embedding a part in sand, or wrapping it in foil-covered sand pockets, spreads heat more evenly across the surface and reduces the chance of one section reaching its melting point while another lags behind.
- Avoid direct oil-bath contact. Oil baths can transfer heat efficiently, but direct contact risks surface damage on parts not specifically designed for immersion; sand and forced air are the more broadly reliable choices for shop use.
- Build a loaded-annealing fixture for demanding parts. A simple mold or clamp that holds the part’s key dimensions under light compressive weight while it softens can suppress warp substantially, since the part cannot shift out of shape as easily as it would unconstrained.
- Scale dwell time to thickness. Thin sections heat through quickly; thick sections need proportionally longer holds to reach a uniform internal temperature, not just a hot surface.
- Cool slowly, ideally with the oven off and the door closed. Polymaker also recommends removing parts only after the oven has cooled, since rapid cooling can reintroduce the stress the anneal was meant to relieve.
Pro Tip: For a first attempt at loaded annealing, a flat aluminum plate and a few machined blocks as weights will constrain most flat or lightly curved parts well enough to see whether the technique is worth building a dedicated fixture for.
Warping, shrinkage, and delamination: what actually goes wrong
Annealing failures almost always trace back to uneven heat or unconstrained geometry, and both are predictable enough to plan around.
Localized melting from oven hot spots is the most common home-shop failure, usually showing up as a soft, sagging section on one side of a part while the rest holds its shape. Severe anisotropic shrinkage is the second major risk. Aggressive annealing conditions have produced shrinkage up to roughly 27 percent in one printing-direction axis for ABS, a scale of change that will ruin fit on any part with mating tolerances. Polycarbonate carries a third, distinct risk: internal delamination if the part cools too quickly after the anneal cycle rather than being held at temperature and allowed to cool with the oven.
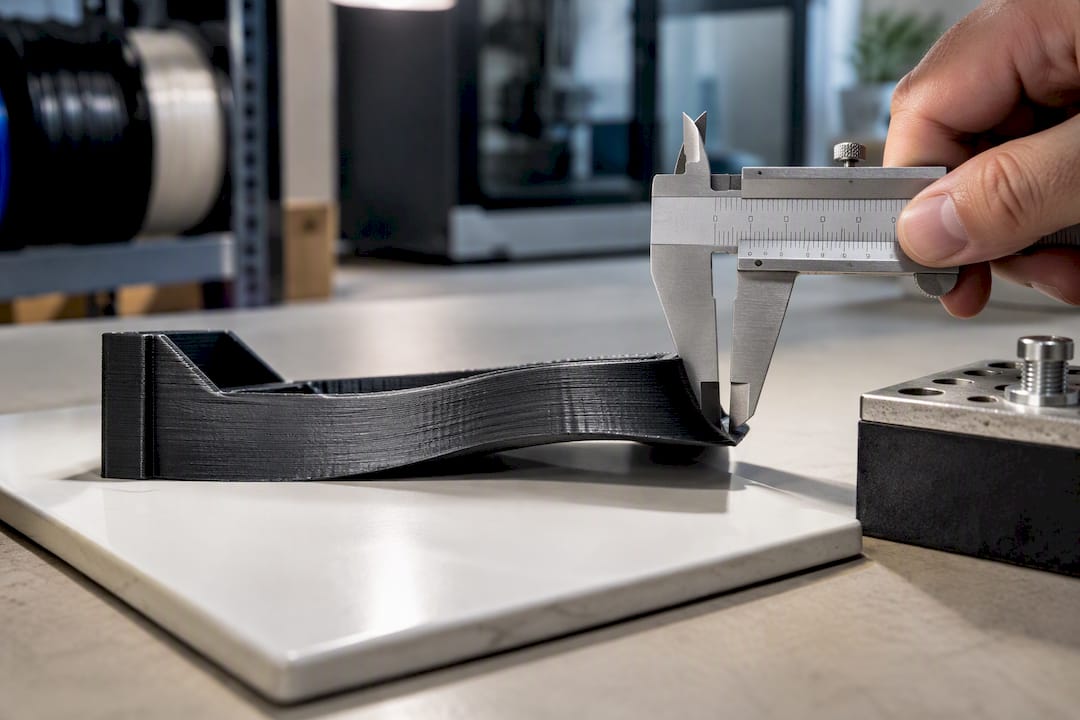
Geometry makes all three risks worse. Thin-wall sections heat and soften faster than thick ones, sudden thickness transitions create uneven internal stress as the part heats, and large flat areas have more surface area available to bow or sag under their own softened weight.
Mitigation options, roughly in order of effort:
- Anneal the part while it is still attached to the build plate, which constrains its base dimensions during the most vulnerable part of the heat cycle
- Build a simple fixture or mold that holds critical dimensions in place
- Embed the part in sand to both diffuse heat and physically support thin sections
- Use loaded annealing, applying light compressive weight to actively suppress warp in demanding geometries
- Add a scaling allowance in the CAD model before printing, anticipating the shrinkage you expect from testing, then machine or finish to final dimension after annealing
There are cases where annealing is simply the wrong call. Parts with mating surfaces that need to hold FDM’s typical dimensional tolerance of roughly ±0.2 to 0.5 millimeters are poor annealing candidates unless you have a fixture capable of holding those tolerances through the heat cycle. Complex assemblies with multiple interlocking parts and no fixture control are similarly risky, since even a small shift in one component can throw off fit across the whole assembly.
Testing before you commit a production part
Deciding whether annealing is worth the risk on a real part comes down to a small, repeatable test rather than a guess.
- Pick a starting temperature and time from manufacturer guidance or published testing for your specific material, then adjust slightly for your part’s wall thickness, infill density, and layer height, since thicker or denser sections need longer to reach a uniform internal temperature.
- Print dedicated test coupons, not the production part itself: a dog-bone tensile sample, a solid cube, and a thin-wall sample that mimics your thinnest production feature.
- Record baseline dimensions on all three coupons before annealing, then measure again after the anneal cycle and full cool-down to capture per-axis dimensional change rather than a single overall number.
- Inspect for delamination or void closure, particularly on the thin-wall sample, and if you have access to basic mechanical testing, compare tensile or impact results before and after.
- Set a decision threshold before you test, not after: if the dimensional change on your thin-wall coupon exceeds what your tolerance budget allows, the part is a candidate for a fixture-controlled anneal or for skipping annealing altogether in favor of a different material.
A part that only needs modest heat resistance and has generous tolerances is usually worth annealing without much fuss. A part with tight mating dimensions and no fixture plan is usually not, at least not without redesigning around expected shrinkage first, a consideration covered further in our guide to precision part qualities.
How CC 3D Labs approaches annealed and dimensionally sensitive parts
We treat annealing as one option among several, not a default step. If a customer needs heat resistance and can tolerate the dimensional shift, we discuss annealing directly; if tolerances are tight, we are more likely to recommend a different material or a finishing approach that does not involve a full heat cycle, an option covered in our overview of post-processing choices.
Our workflow follows the same logic outlined above: a test print first, an evaluation of how the material and geometry responded, fixture or mold design if loaded annealing is warranted, the anneal cycle itself, then inspection against the customer’s tolerance requirements. Every job is quoted after that test print, since annealing behavior varies enough by geometry that a fixed price before testing would not reflect the real risk. Automotive restorers reproducing legacy parts and engineers running small heat-resistant batches are the customers who ask for this most often, usually through our engineering-grade printing service.
What the research actually supports, and where shop habits get ahead of it
The strongest, best-supported claim in this entire body of research is narrow: annealing reliably improves heat resistance in semi-crystalline polymers and relieves stress in amorphous ones, and it reliably costs you some dimensional accuracy in return. Everything past that basic trade is more conditional than shop lore usually admits.
The most overrated idea is that annealing is a general-purpose upgrade you apply after any print to make it stronger and tougher. The data does not support that as a blanket rule. Layer height and print quality influence final strength more than the anneal cycle does in more than one study, which means a poorly printed part will still be a mediocre part after annealing, just a mediocre part that is harder to size correctly.
The most underused idea is loaded annealing. Most hobbyist guidance still treats annealing as an unconstrained bake, when a simple fixture or a few weights can turn a risky process into a controlled one. If you take one thing from this article, test a coupon under load before you anneal anything that needs to fit something else.
— Justin
Get a quote for annealed or dimensionally controlled parts
If you have decided annealing is worth pursuing but do not want to gamble a production part on a home oven, CC 3D Labs runs that test-print-first process for you. We print on a farm of FDM printers across various materials and build fixtures when a part’s geometry calls for loaded annealing to hold its shape through the heat cycle.

- We start every annealed-part job with a test print, so you see real dimensional behavior before committing to a full run
- We design simple fixtures or molds when loaded annealing is the right call for your geometry
- We handle post-process inspection against your tolerance requirements before final quoting
Tell us your material, your heat-resistance target, and your tolerance requirements when you request a quote, and we will scope the test print from there.
Sources
FAQ
What do you use to anneal 3D prints?
Most practitioners use a forced-air or convection oven set to a material-specific temperature, since uneven heat in standard household ovens can create hot spots that deform parts. Sand embedding or foil-wrapped sand pockets are common workarounds for diffusing heat when a dedicated oven is not available.
Should I anneal my 3D prints?
Anneal when you need better heat resistance or toughness and can tolerate dimensional change, since semi-crystalline materials like PLA and nylon gain the most from the process. Skip it on parts with tight mating tolerances unless you plan a fixture, because FDM parts typically hold tolerances around ±0.2 to 0.5 millimeters that annealing can easily exceed.
Can I anneal 3D prints in a toaster oven?
A toaster oven can work for small parts, but its uneven heat distribution raises the risk of localized melting compared with a forced-air or convection oven. If you use one, monitor internal temperature directly rather than trusting the dial, and consider embedding the part in sand to spread heat more evenly.
What are the downsides of annealing?
The main downside is dimensional change: aggressive annealing conditions have produced shrinkage up to roughly 27 percent in one axis for ABS, and even mild anneals shift HT-PLA parts by an estimated 0.3 to 0.6 percent. Polycarbonate carries an added risk of internal delamination if it is allowed to cool before annealing instead of being transferred directly into a preheated oven.