

TL;DR:
- Custom prototyping involves creating targeted models to test specific design assumptions before full production. It emphasizes selecting appropriate fidelity, materials, and tools to answer focused questions efficiently. Rapid iteration and early testing help identify issues and protect intellectual property effectively.
Custom prototyping is the process of building a targeted physical or digital model to test a specific design assumption before committing to full production. The industry term for this practice is rapid prototyping, and it covers everything from paper sketches to full CAD-driven 3D prints. Knowing how to create custom prototypes well means choosing the right fidelity, the right materials, and the right testing method for each stage of development. Tools like Figma, Fusion 360, and FDM 3D printers each serve different stages of the process. This guide walks you through every step, from goal definition to final iteration.
How to plan your custom prototype: defining goals and choosing tools
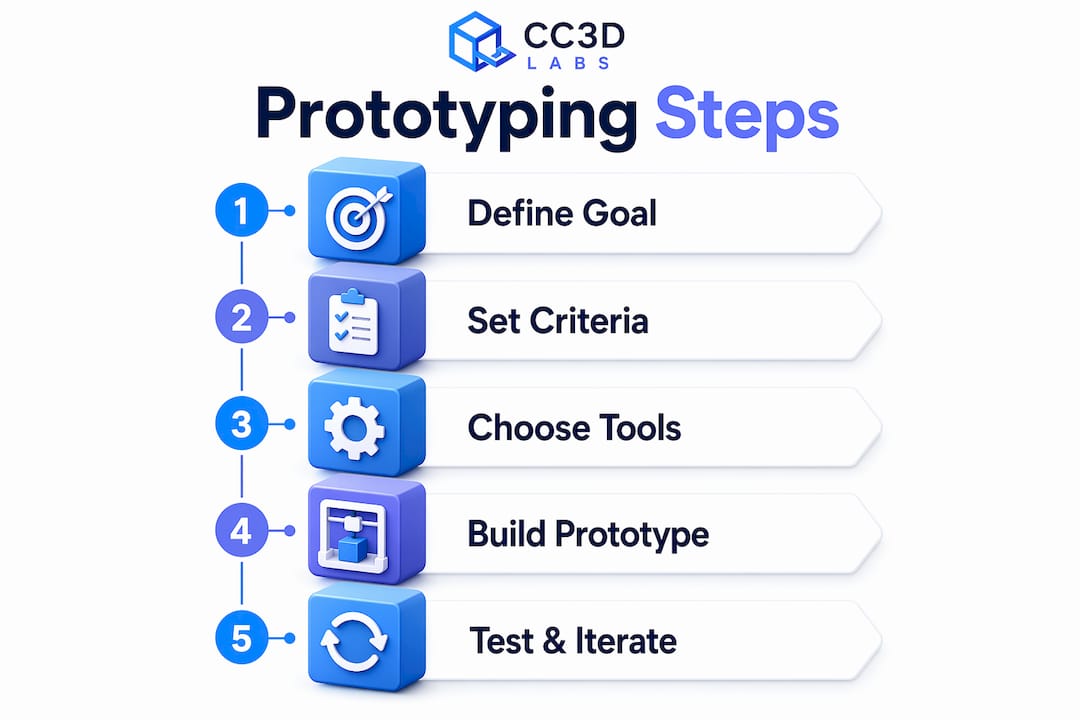
The single most important step in custom prototype design is defining one clear, testable question before you build anything. Defining a single testable question focuses the effort and improves the quality of feedback you collect. Examples include: can users complete a checkout flow without guidance, or does a layout surface the most critical information first?
Once you have that question, set explicit success criteria. Decide in advance what a passing result looks like. Without that benchmark, feedback becomes noise.
Protect your idea before you build. Securing IP protection via a provisional patent and documented creation dates is advisable before investing significant time and money in prototypes. Work with an IP attorney early, not after your design is already in someone else’s hands.
Tool selection follows goal definition. The table below maps common prototyping tools to their best use cases:
| Tool | Best for | Fidelity | Cost |
|---|---|---|---|
| Paper sketches | Early concept exploration | Low | Minimal |
| Figma | Digital UI and UX flows | Low to medium | Low |
| Fusion 360 / SolidWorks | CAD modeling for physical parts | High | Medium to high |
| FDM 3D printing | Functional physical prototypes | Medium to high | Medium |
| SLA / resin printing | High-detail visual models | High | Medium to high |
| Foam / cardboard | Form and ergonomics testing | Low | Minimal |
Pro Tip: Start with the cheapest tool that can answer your question. If a cardboard mockup can validate the shape, do not spend three days in CAD first.
What are the common types of prototypes and when to use them?
Prototype types fall into four main categories, each suited to a different stage of development. Choosing the wrong type wastes time and produces misleading feedback.
-
Lo-fi (paper or digital wireframes). Best for early-stage concept validation. Rough sketches and Figma wireframes let you test layout and flow without building anything physical. Rough prototypes reduce distraction from surface polish and accelerate honest feedback from users. The downside is that they cannot validate physical fit, material feel, or mechanical function.
-
Looks-like prototypes. These focus on aesthetics and form without delivering full function. A resin-printed shell with no working electronics is a looks-like prototype. Use them for investor presentations, ergonomic reviews, and packaging fit checks. They are fast to produce but tell you nothing about whether the product actually works.
-
Works-like prototypes. These prove mechanical or software function without matching the final appearance. A breadboard circuit in a foam housing is a classic example. Use them to validate engineering assumptions and stress-test core mechanisms before spending money on cosmetics.
-
Combined works-like-looks-like prototypes. These integrate both form and function. They are expensive and time-consuming, so reserve them for late-stage validation before tooling or manufacturing investment.
-
Pre-production prototypes. Built to production specifications, these are used for final regulatory testing, manufacturing trials, and investor sign-off. They represent the highest cost and fidelity in the prototyping sequence.
The key rule: match prototype type to the specific risk you are testing at that moment. Do not build a pre-production prototype to answer a question a paper sketch could resolve in an afternoon.
Step-by-step guide to building and testing your custom prototype
A structured workflow separates developers who ship products from those who stay stuck in endless revision cycles. Iterative prototyping outperforms linear models because each cycle answers one question and feeds directly into the next build.
Follow these steps for creating effective prototypes:
-
Sketch the concept. Draw the core idea by hand or in Figma. Focus only on the elements that relate to your testable question. Skip details that do not affect the outcome.
-
Build the minimum viable prototype. Digital prototyping follows a path of research, sketching, interactive creation, testing, and refining. For physical builds, move from sketch to CAD model in Fusion 360 or SolidWorks. Keep geometry simple at this stage.
-
Run a design for manufacturability (DFM) check. Before printing, review wall thickness, overhangs, and tolerances. This step prevents failed prints and wasted material.
-
Print or fabricate. 3D printed prototypes are built via CAD modeling, DFM checks, print setup, and post-processing specific to the technology used. Print times range from 2 to 24 hours depending on part size and technology. FDM works for functional tests; SLA delivers finer surface detail for visual reviews.
-
Post-process the part. Sand, prime, or paint as needed. For FDM prints, support removal and light sanding are standard. For SLA, UV curing is required after printing.
-
Test with real users. Use moderated testing when you need to understand why users behave a certain way. Use unmoderated testing when you need behavioral data at scale. Frequent small validation cycles outperform one large test late in the process.
-
Document findings and iterate. Record what worked, what failed, and what the next testable question is. Then repeat the cycle.
Pro Tip: Set a hard time limit on each build window, such as two days maximum per iteration. A constrained timeline forces you to prioritize the one feature that answers your question rather than adding scope.
A typical early-stage physical prototype cycle runs two to five days from sketch to tested part. Digital UI prototypes in Figma can complete a full cycle in under 24 hours. The faster your cycle, the more you learn before committing to expensive tooling.
How to choose materials and methods for custom prototypes
Material and method selection directly determines what questions your prototype can answer. The wrong combination produces data that does not transfer to the final product.
| Method | Material options | Speed | Detail level | Relative cost |
|---|---|---|---|---|
| FDM 3D printing | PLA, ABS, PETG, TPU | Fast | Medium | Low |
| SLA / resin printing | Standard, tough, flexible resins | Medium | High | Medium |
| SLS 3D printing | Nylon, glass-filled nylon | Medium | High | High |
| CNC machining | Aluminum, acetal, HDPE | Slow | Very high | High |
| Handcrafting / foam | Foam, cardboard, silicone | Very fast | Low | Minimal |
| Silicone molding | Silicone, urethane | Medium | High | Medium |
FDM printing with PLA or PETG is the fastest and most affordable path for functional fit-and-form testing. SLA resin printing produces finer surface detail, making it the right choice for consumer product aesthetics reviews. SLS nylon parts offer the best mechanical properties among 3D printing methods, which makes them suitable for load-bearing functional tests.
CNC machining delivers the tightest tolerances and is the correct choice when you need metal parts or production-equivalent material behavior. The tradeoff is cost and lead time. For early-stage work, CNC is rarely justified.
Choosing the right 3D printing type depends on the prototype’s purpose, required surface finish, and mechanical demands. A consumer electronics housing needs SLA for its surface quality. A bracket that must survive load testing needs SLS or CNC.
Pro Tip: Test material behavior separately from geometry. Print a small coupon of your chosen material and stress it before committing to a full prototype build. This saves hours of reprinting.
What common pitfalls should you avoid when creating custom prototypes?
Most prototyping failures share the same root cause: building too much before testing anything. Constraining features prevents prototype sprawl and the delays that come with it.
-
Skipping goal definition. Building without a testable question produces a prototype that looks impressive but answers nothing. Every build must trace back to a specific risk or assumption.
-
Starting at high fidelity too early. A polished prototype signals to users that the design is finished. That perception suppresses honest feedback. Low-fidelity early prototypes enable more honest and actionable user feedback by removing the distraction of surface polish.
-
Testing too late and too rarely. One large test at the end of a development phase is the most expensive way to find problems. Small, frequent tests catch issues while they are still cheap to fix.
-
Ignoring what users actually do. Developers often watch users struggle with a prototype and instinctively explain the interface rather than observing. Let users fail. Their confusion is the data.
-
Neglecting IP protection. Sharing a prototype with manufacturers or investors before filing a provisional patent exposes your design to risk. Document creation dates and consult an IP attorney before any external sharing.
“Prototyping creates options for product development by testing single moments of value quickly and iteratively, maximizing learning speed and leverage.”
Scope creep is the silent killer of prototype cycles. Every feature you add beyond the testable question extends your build time and dilutes your results. Treat each prototype as a focused experiment, not a product preview.
Key Takeaways
Effective custom prototyping requires a defined question, the right fidelity for each stage, and short iterative cycles that build knowledge faster than any single large test.
| Point | Details |
|---|---|
| Define one testable question | Every prototype must answer a specific risk before you build anything. |
| Match fidelity to the stage | Use lo-fi sketches early; reserve high-fidelity builds for late-stage validation. |
| Choose materials by purpose | FDM suits functional tests; SLA suits visual reviews; SLS suits load-bearing parts. |
| Test early and often | Frequent small cycles outperform one large test late in the process. |
| Protect IP before sharing | File a provisional patent and document creation dates before external exposure. |
What I’ve learned from years of watching prototypes succeed and fail
The most common mistake I see from product developers is treating the first prototype as a draft of the final product. It is not. It is a question written in physical form. The moment you start adding features that are not tied to your testable question, you have stopped prototyping and started building. Those are very different activities.
The second lesson is that material choice reveals things CAD cannot. I have watched engineers spend weeks perfecting a model in Fusion 360, only to discover that the chosen material flexes in a way the simulation never predicted. A two-hour coupon test with the actual filament or resin would have caught that on day one. Physical behavior is not fully predictable from a screen.
Collaboration across disciplines also changes prototype outcomes in ways that are hard to overstate. When a mechanical engineer, a UX designer, and a manufacturing specialist review the same prototype together, they catch three different categories of problems in a single session. Siloed review misses the intersections where real product failures live.
My honest recommendation for anyone new to iterative prototyping: start with the lowest fidelity that can answer your question, set a hard deadline on the build, and get it in front of a real user within 48 hours. Speed of learning beats quality of prototype at every early stage.
— Justin
Cc3dlabs can help you build your next prototype faster
Physical prototyping moves faster when you have reliable print quality and material options behind you. Cc3dlabs, based near Philadelphia, offers custom 3D printing services covering FDM, SLA, and multi-color printing for prototypes, functional parts, and batch production runs.

Whether you need a single concept model or a series of iterated parts, Cc3dlabs provides CAD support, design for manufacturability review, and fast turnaround with local pickup or shipping. Their team works with product developers and engineers who need accurate, durable parts without long lead times. If you want to see how 3D printing drives product innovation at every stage of development, Cc3dlabs is a direct path from CAD file to tested physical prototype.
FAQ
What is a custom prototype in product development?
A custom prototype is a targeted model built to test a specific design assumption or risk before full production. It can be physical, digital, or a combination of both, depending on what question it needs to answer.
How long does it take to build a custom prototype?
Physical 3D printed prototypes typically take 2–24 hours to print, plus additional time for post-processing and testing. Digital prototypes in tools like Figma can complete a full build-and-test cycle in under 24 hours.
What materials work best for physical prototypes?
FDM materials like PLA and PETG work best for functional fit tests. SLA resin delivers finer surface detail for visual reviews. SLS nylon is the strongest option for load-bearing functional prototypes.
Should I protect my IP before prototyping?
Filing a provisional patent and documenting creation dates before sharing your prototype with any external party is the standard recommendation. Consult an IP attorney before showing your design to manufacturers or investors.
What is the difference between a works-like and a looks-like prototype?
A works-like prototype validates mechanical or software function without matching the final appearance. A looks-like prototype matches the final form and aesthetics without delivering working function. Each type answers a different category of design risk.