
TL;DR:
- Painting 3D printed artwork requires careful surface preparation, compatible materials, and layered application. Patience during drying and sanding ensures a smooth, durable finish with realistic depth and detail.
Painting 3D printed artwork is defined as a multi-step post-processing workflow covering support removal, surface cleaning, sanding, priming, topcoat application, and sealing. The complete process spans 24–48 hours of drying and curing time between steps. Skipping any stage produces peeling, uneven color, or obscured detail. Artists and hobbyists who follow a disciplined sequence consistently achieve finishes that rival hand-sculpted pieces. The ways to paint 3D printed artwork covered here apply to both FDM filament prints and resin prints, with technique adjustments for each material.
1. Ways to paint 3D printed artwork start with surface preparation
Surface preparation is the most time-consuming phase of the entire process. Sanding and priming activity may take a few hours, but curing and drying total 1–2 days. Skipping this phase causes paint adhesion failures that no topcoat can fix.
For FDM prints, wash the part with warm soap and water to remove oils and dust. Remove all supports carefully with flush cutters or needle-nose pliers, then file or sand any nubs flush with the surface.
For resin prints, the process is different. Wash in 99% isopropyl alcohol for about 5 minutes, then cure fully under UV light. A tacky, uncured surface will reject paint regardless of how well you prime it.
Once clean and dry, begin sanding. Start with 120 or 180 grit to knock down layer lines, then progress through 220, 400, and 800 grit for a smooth base. Each grit removes the scratches left by the previous one. The goal is a surface that feels uniform to the touch.
Pro Tip: Matte filaments require significantly less sanding than glossy or silk variants because their microscopically rougher texture grips primer better. Choosing matte PLA or matte PETG before printing saves real time at the finishing stage.
2. Choosing the right primer for your 3D print
Primer does three jobs: it promotes adhesion, reveals surface flaws, and fills minor scratches. Choosing the wrong primer wastes every hour spent sanding. Understanding surface finish fundamentals helps you match primer type to material correctly.
The two main primer categories are:
- Filler primers: Thick formulas that fill small scratches and layer lines. Ideal for FDM prints with visible texture. Apply in thin coats and sand between layers.
- Adhesion promoters: Thin chemical primers that bond to slick or specialty plastics. Required before any standard primer on Nylon, polypropylene, or carbon-fiber-filled filaments.
- Spray primers: Fast, even coverage. Best for organic shapes and complex geometry. Hold the can 25–30 cm from the surface and use sweeping passes.
- Brush-on primers: Better control for small details or touch-ups. Thin with water or the manufacturer’s recommended solvent to avoid brush marks.
Specialty filaments like Nylon reject standard primers entirely. Apply a plastic adhesion promoter first, or the paint will peel regardless of surface prep quality.
Apply primer in 2–3 thin coats rather than one heavy coat. Let each coat dry fully before adding the next. Rushing this step causes solvent bubbling or wrinkling on the surface.
Pro Tip: After the first primer coat dries, lightly sand with 400 grit and look for shiny low spots. Those spots are depressions that need more filler primer. This is the start of the guide-coat method.
3. The guide-coat technique for a flawless base
The guide-coat method is the single biggest difference between amateur and professional paint results. Sand primer until bare plastic shows through in spots, which reveals low areas that need more filling. Shiny areas are low. Sanded-through areas are high. Fill the low spots with spot putty or another primer coat, then sand again.
This iterative process sounds tedious. It produces a surface where paint lays flat and color reads true. Without it, topcoats magnify every imperfection instead of hiding them.
Repeat the prime-and-sand cycle until the entire surface sands evenly with no shiny low spots remaining. Two or three cycles is typical for FDM prints with visible layer lines. Resin prints often need only one cycle.
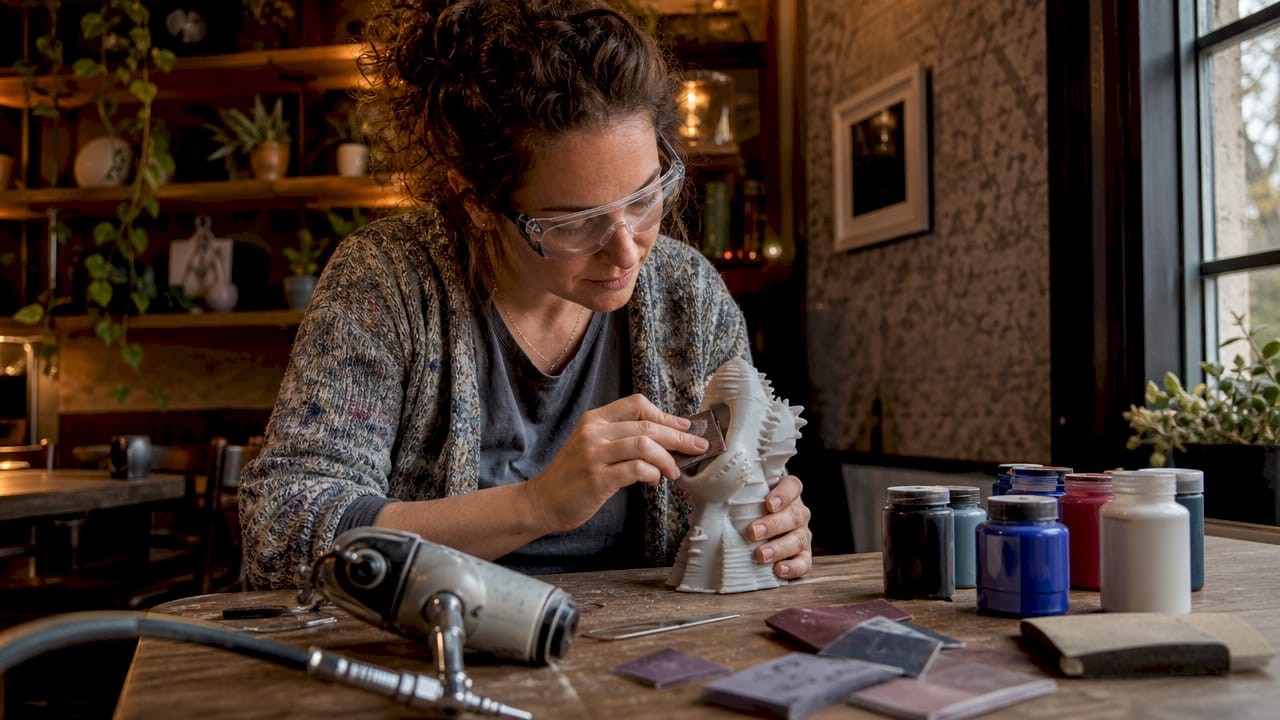
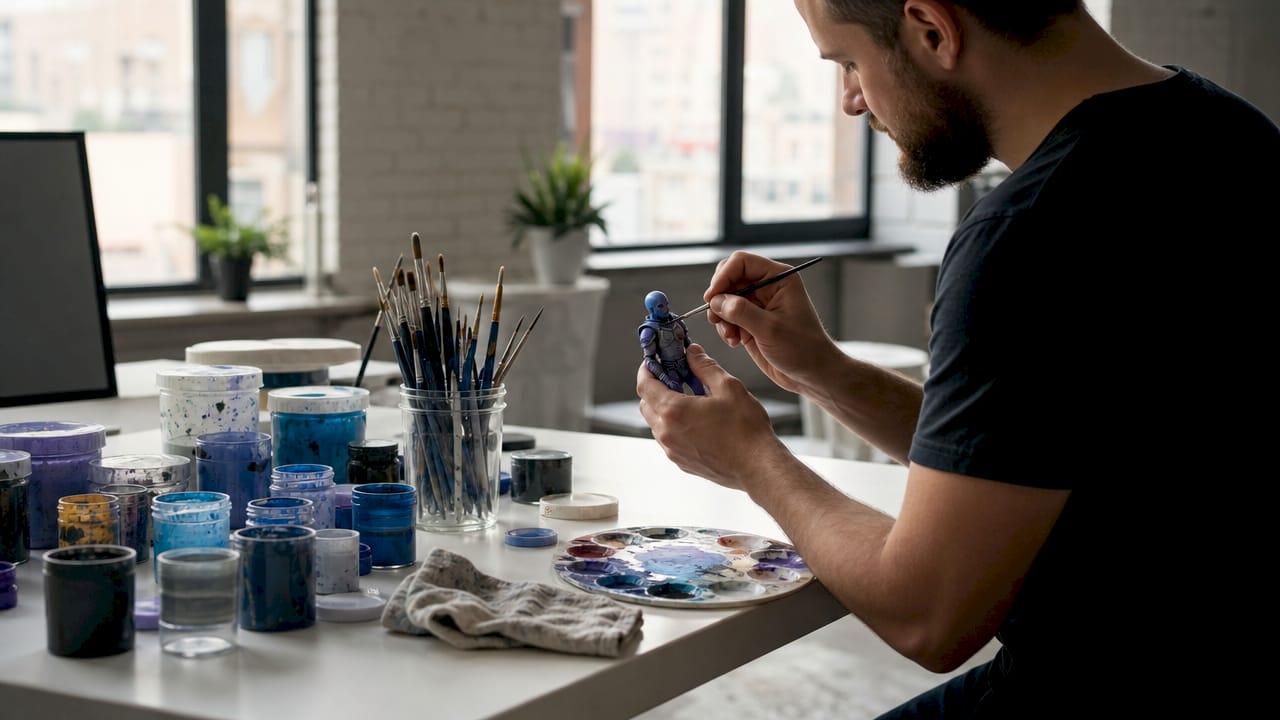
4. Painting techniques that enhance 3D printed artwork aesthetics
Acrylic paints are the standard choice for painting 3D prints. They dry fast, thin with water, and bond well to primed surfaces. They also work with both brush and airbrush application.
The core rule for topcoats is the same as for primer: apply 2–3 thin, even coats instead of one thick coat. Thick coats pool in recesses, obscure fine detail, and take far longer to cure. Thin coats dry in minutes and build color gradually.
Beyond base coats, two techniques separate flat color from genuine artistic depth:
- Washes: Thin dark paint (or dedicated wash medium) to a near-water consistency and apply it over the entire piece. Capillary action pulls the wash into recesses, creating natural shadows. Wipe excess off raised surfaces with a damp cloth before it dries.
- Dry brushing: Load a stiff brush with a light color, then wipe almost all paint off on a paper towel. Drag the nearly dry brush lightly across raised edges and surface texture. The tiny amount of paint left catches only the highest points, simulating light hitting edges.
Washes and dry brushing are the techniques professional artists rely on to produce realistic depth and highlights beyond simple color coats. A figure painted with only base coats looks flat. The same figure after a wash and dry brush looks like it belongs in a display case.
“The difference between a painted print and a painted sculpture is almost entirely in the detailing stage. Base coats set the color. Washes and dry brushing set the story.”
Pro Tip: Thin your acrylic paints with a dedicated acrylic medium rather than plain water. Water breaks down the binder at high dilution ratios, causing the paint to bead or crack. Acrylic medium maintains the binder while lowering viscosity.
5. Matching paints and primers for compatibility
Paint and primer compatibility is a real technical constraint, not a preference. Solvent-based primers can dissolve water-based topcoats. Oil-based paints over acrylic primers may never cure fully. The safest approach is to stay within one paint family throughout the entire job.
For most artists, an all-acrylic system works well. Use an acrylic filler primer, acrylic base coats, acrylic washes, and an acrylic clear coat. Every layer speaks the same chemical language.
If you use a rattle-can spray primer, check the label for the base chemistry. Lacquer-based spray primers are common and fast-drying, but they require lacquer-compatible topcoats. Applying water-based acrylics over a fresh lacquer primer before it fully outgasses causes wrinkling.
Read the filament-specific finishing guide for your material before choosing a paint system. Flexible filaments like TPU need flexible paints. Rigid PLA accepts almost any acrylic system without issue.
6. Sealing and protecting your finished paint job
A clear coat seals the paint, protects against handling wear, and controls the final surface sheen. Skipping the clear coat means fingerprints and minor abrasion will damage the paint within weeks.
Clear coat options:
- Matte clear coat: Eliminates surface shine. Best for realistic figures, terrain, and organic subjects where gloss looks artificial.
- Satin clear coat: A middle ground. Works well for vehicles, armor, and objects that would have a slight sheen in real life.
- Gloss clear coat: Maximum shine. Correct for candy-colored pieces, jewelry-style prints, and anything meant to look lacquered.
Apply clear coat the same way as primer and topcoat: thin, even passes at 25–30 cm distance. Let each coat dry fully before adding another. Two coats provide solid protection. Three coats are worth the extra time on pieces that will be handled frequently.
Allow the final clear coat to cure for at least 24 hours before handling the piece. The coat may feel dry to the touch in an hour, but full hardness takes longer. Handling too soon leaves fingerprints pressed into the surface.
7. Common mistakes and how to avoid them
The most common mistake in painting 3D prints is rushing drying times. Patience between coats is the single factor that separates a professional-grade finish from a frustrating one. Active brush or spray time may be minutes. Total curing can take days.
Other frequent errors:
- Skipping adhesion promoter on specialty filaments: Nylon and carbon-fiber-filled materials will peel standard paint regardless of how well the surface was sanded. The adhesion promoter is not optional.
- Applying paint too thick: One heavy coat obscures detail and takes far longer to dry than three thin coats combined.
- Not sanding between coats: A light 400-grit pass between primer coats removes dust nibs and improves adhesion for the next layer.
- Mixing incompatible paint systems: Lacquer over fresh acrylic, or oil over acrylic, causes chemical reactions that wrinkle or crack the surface.
Pro Tip: Sand lightly between every primer coat with 400 grit, and between base coats with 800 grit. This removes any dust contamination and gives each new layer a mechanical key to grip. The extra 5 minutes per coat pays back in a noticeably smoother final surface.
Key takeaways
Successful painting of 3D printed artwork requires proper surface preparation, compatible materials, and patient layering from primer through clear coat.
| Point | Details |
|---|---|
| Surface prep is non-negotiable | Wash, sand through multiple grits, and cure resin prints before any primer touches the surface. |
| Match primer to filament type | Specialty materials like Nylon need an adhesion promoter before standard primer to prevent peeling. |
| Use multiple thin coats | Thin coats dry faster, preserve detail, and build stronger adhesion than one thick coat. |
| Washes and dry brushing add depth | These two techniques transform flat base coats into realistic, handcrafted-looking finishes. |
| Seal every finished piece | A compatible clear coat in matte, satin, or gloss protects paint from handling wear and controls final sheen. |
What I’ve learned from years of painting 3D printed pieces
The advice I give most often is the advice beginners resist most: slow down between coats. Every artist wants to see the finished piece. That impatience is exactly what produces wrinkling, peeling, and the frustration of stripping a piece and starting over.
The technique that changed my results most was the guide-coat method. Before I used it, I thought my surfaces were smooth enough. After the first time I sanded through primer and saw the shiny low spots, I realized I had been painting over a surface full of invisible depressions. The guide-coat method made that visible and fixable.
My other strong recommendation is to invest in washes and dry brushing before you invest in an airbrush. An airbrush is a great tool, but it does not replace the depth that a well-applied wash creates. I have seen hand-brushed pieces with washes and dry brushing outperform airbrushed pieces that skipped the detailing stage entirely.
Material choice matters more than most hobbyists realize before they start. Matte PLA is genuinely easier to finish than silk PLA. The surface texture difference is real, and it shows up in how much sanding you need and how well the first primer coat sticks. If you have not yet printed the piece, choose matte filament. It is a free head start on the finishing process.
The post-processing workflow is not a chore you do after the real work. It is half the work. Treat it that way and the results will show.
— Justin
Cc3dlabs can help you start with a better print
A great paint job starts with a great print. Cc3dlabs, based near Philadelphia, produces custom 3D printed parts with the surface quality and dimensional accuracy that make finishing work faster and more rewarding.

Cc3dlabs offers filament-based printing, multi-color printing, and CAD modeling support for artists and hobbyists who want a reliable foundation for their finishing work. Whether you need a single art piece or a batch of display models, the team provides free online estimates and ships locally and internationally. Browse the project gallery to see the quality of prints that go out the door before a single brush stroke is applied.
FAQ
What paints work best on 3D printed plastic?
Acrylic paints bond well to primed 3D prints and dry fast enough for multi-coat workflows. An all-acrylic system from primer through clear coat avoids chemical compatibility problems.
Do I need to sand before painting a 3D print?
Sanding is required for good paint adhesion on FDM prints. Progress through multiple grits from 120 up to 800 to remove layer lines and create a surface the primer can grip.
How do I paint resin 3D prints without peeling?
Wash resin prints in 99% isopropyl alcohol for about 5 minutes, then cure fully under UV light before priming. An uncured or unwashed resin surface causes paint to peel regardless of primer quality.
What is the guide-coat method for 3D prints?
The guide-coat method involves sanding primer until bare plastic shows through in spots, which reveals low areas that need additional filling. Repeating this cycle produces a flat, uniform surface before topcoats are applied.
How long should I wait between coats when painting 3D prints?
The full drying and curing process between steps often totals 24–48 hours. Paint may feel dry to the touch in minutes, but rushing the next coat before full cure causes wrinkling, peeling, or adhesion failure.