
TL;DR:
- Print accuracy measures how closely a 3D printed part matches CAD design dimensions.
- Layer height, print speed, material shrinkage, and slicer calibration are key factors affecting accuracy.
- Incorporating process control and topology optimization enhances reliability and reduces dimensional errors.
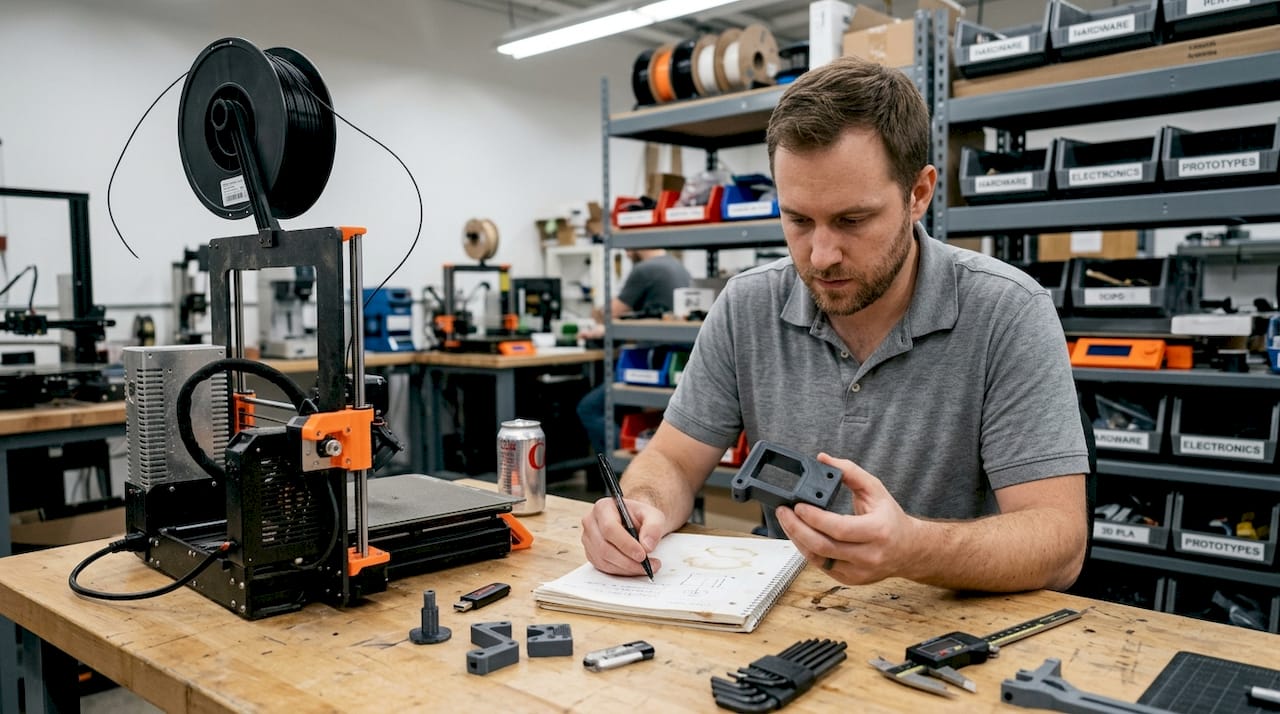
A single 0.2mm dimensional error seems insignificant on paper. In practice, it can mean a snap-fit assembly that won’t close, an engineering jig that wobbles under load, or a costly round of reprints that blows your project timeline. For product developers and manufacturers, this is not a hypothetical situation. It happens more often than most teams want to admit. The misconception is that 3D printing is rapid and “close enough” by nature. But when you’re validating a functional prototype or preparing for short-run production, close enough is never actually good enough. This guide explains what print accuracy really means, what drives it, and how to build it into every stage of your workflow.
Table of Contents
- What does print accuracy mean in 3D printing?
- Major factors that impact print accuracy
- Material selection and dimensional stability
- Advanced methods: Topology optimization and process control
- Why most teams underestimate print accuracy and how to shift your approach
- Get reliable prototypes with print-perfect accuracy
- Frequently asked questions
Key Takeaways
| Point | Details |
|---|---|
| Print accuracy defined | Print accuracy is how closely your 3D part matches your design—critical for fit and function. |
| Settings matter most | Layer height, print speed, and material choice determine accuracy much more than printer brand. |
| Material choice impacts results | PLA and PETG offer better dimensional stability than ABS, reducing warping and shrinkage. |
| Advanced methods boost reliability | Using topology optimization and process-aware tools produces more consistent and dependable prints. |
What does print accuracy mean in 3D printing?
With the stakes clear, let’s define exactly what print accuracy means and why it isn’t just another technical buzzword.
Print accuracy describes how closely a finished 3D-printed part matches the original design dimensions in your CAD file. If your model calls for a 50mm hole and the printed result measures 49.6mm, you have an accuracy gap. That gap matters enormously once parts need to fit together, pass inspection, or meet a functional specification.
It helps to distinguish accuracy from two related concepts. Precision refers to repeatability, meaning how consistently a printer reproduces the same result across multiple runs. Resolution refers to the smallest detail the printer can physically produce, typically expressed in microns. A printer can have high resolution but poor accuracy if it consistently prints features that are the wrong size. A machine can be precise but inaccurate if every part comes out 0.3mm too wide, every single time.
Why does a 0.2mm error wreck a snap-fit prototype? Because snap-fits operate within tight elastic deformation windows. Even a slight oversize on a cantilever arm can prevent engagement entirely. For engineering jigs used to hold, align, or guide other components, dimensional deviation means the jig introduces rather than eliminates error into your process.
Several variables directly control how accurate a print turns out:
- Layer height: Layer height most significantly affects width and height errors in printed parts
- Print speed: Faster movement reduces material control and increases deviation
- Bed leveling: An uneven bed creates first-layer inconsistencies that propagate upward
- Material shrinkage: All thermoplastics contract as they cool, some more than others
- Nozzle temperature: Too low causes under-extrusion; too high causes material spread
- Slicer calibration: Incorrect extrusion multiplier settings skew all feature sizes
Understanding the right 3D printing terminology before you start a project saves time and prevents costly assumptions.
Pro Tip: Before committing a design to a batch run, always compare your CAD tolerances to the documented capability of the printer and material you plan to use. A printer rated for ±0.2mm tolerance should never be trusted for a part that requires ±0.05mm fits without prior test prints.
Major factors that impact print accuracy
Now that it’s clear what accuracy means, let’s see what actually drives accurate and inaccurate results in 3D printing.
Empirical testing gives us the clearest answers. Research on FDM printing with PLA on a Prusa MK4 found that low speed, high temperature, and thin layers such as 20 to 40mm/s, 230°C, and 0.05mm layers delivered the best dimensional accuracy across tested parameters. That’s a meaningful benchmark for anyone running precision work.
Here’s how those findings translate into a practical parameter reference:
| Parameter | Optimal value for accuracy | Effect of deviation |
|---|---|---|
| Layer height | 0.05 to 0.10mm | Thicker layers increase width and height error |
| Print speed | 20 to 40mm/s | Higher speed degrades material control |
| Nozzle temperature | 230°C (for PLA) | Lower temps cause under-extrusion and gaps |
| Bed temperature | 60°C (for PLA) | Incorrect temp causes warping and layer shift |
| Infill pattern | Rectilinear or grid | Complex patterns increase internal stress |
Beyond settings, physical and process variables also play a major role:
- Design review: Check for features that exceed your printer’s capability before slicing
- Test piece: Print a calibration cube or representative feature before the full part
- Measurement: Use calipers to check test pieces against CAD dimensions before approving a run
- Slicer adjustment: Apply compensation values for known shrinkage or offset errors
- Post-processing review: Measure critical dimensions after any surface finishing or heat treatment
For guidance on matching material to tolerance requirements, the filament selection for precision guide covers real-world selection logic for demanding applications. If you’re still deciding between materials, see the breakdown of PLA, PETG, or ABS performance for functional parts.
Pro Tip: When dimensional accuracy is critical, reduce layer height and print speed before adjusting any other parameter. These two settings have the most direct and measurable impact on output fidelity.
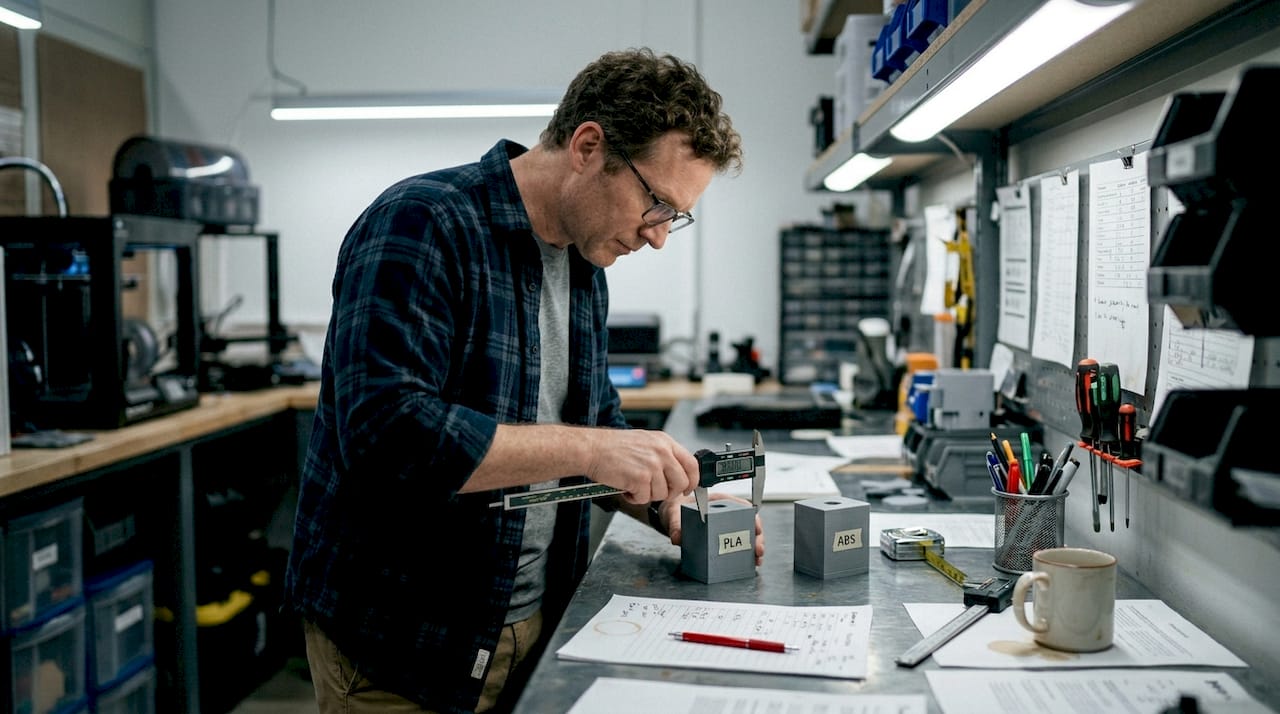
Material selection and dimensional stability
Even with dialed-in settings, your material pick can make or break dimensional accuracy. Let’s see why.
Every thermoplastic shrinks as it transitions from molten to solid. The rate and consistency of that shrinkage determines how much the final part deviates from the design. Some materials are far more forgiving than others.
| Material | Shrinkage rate | Warping risk | Best use cases |
|---|---|---|---|
| PLA | Low (0.2 to 0.4%) | Low | Prototypes, display models, snap-fits |
| PETG | Low to medium (0.3 to 0.5%) | Low to medium | Functional parts, mild chemical exposure |
| ABS | High (0.7 to 1.6%) | High | Heat-resistant parts, post-processed components |
Warping is the biggest accuracy threat from thermal behavior. Warping primarily comes from uneven cooling and shrinkage, and is best controlled with even cooling, adhesion aids, and choosing low-shrink materials like PLA or PETG when tolerances are tight.
“Warping doesn’t just ruin surface finish. It changes the geometry of a part in ways that are nearly impossible to correct after the fact. One curled edge on a mating surface can cascade into a full fit failure during assembly.” — Dimensional reliability perspective from materials engineering practice
Strategies to reduce warping and protect dimensional stability:
- Use a heated enclosure for ABS and other high-shrink materials to slow and equalize cooling
- Apply bed adhesion solutions such as glue stick, PEI sheets, or hairspray for better first-layer grip
- Reduce part cooling fan speed for materials prone to layer delamination from rapid quenching
- Orient parts to minimize large flat areas contacting the bed when using high-shrink filaments
- Use brim or raft supports to anchor edge geometry during printing
One common overcorrection: teams add enclosures when printing low-shrink materials like PLA in cool environments. For most PLA prints, enclosures can actually trap heat and cause softening near the top layers. Know your material’s actual needs before defaulting to every countermeasure at once.
If you’re still narrowing down your options, the decision framework for choosing between PLA, PETG, and ABS breaks down dimensional trade-offs clearly. You can also explore what can be printed to see how material choice maps to real part applications.
Advanced methods: Topology optimization and process control
For truly reliable, repeatable parts, accuracy must extend beyond setup and materials. Here’s how modern approaches help.
Topology optimization is a computational design method that removes unnecessary material from a part while maintaining its structural performance. For 3D printing, it goes further than weight reduction. When the optimization algorithm incorporates the actual behavior of the printer, including how the print head deposits material and how bonding between layers works, the resulting geometry is fundamentally better suited to being printed accurately.
MIT’s advanced technique incorporates print head limitations and inter-layer bonding constraints directly into the topology optimization process, reducing deposition errors and making complex parts more reliable as a result. This is a significant shift from designing a part and hoping the printer handles it, to designing a part that the printer can actually execute with precision.
For manufacturers, the practical benefits are real:
- Fewer failed prints: Designs that account for printer behavior fail less often mid-run
- Less over-deposition: Optimized geometries reduce material buildup in corners and transitions
- More repeatable outcomes: Process-aware designs perform consistently across multiple batches
- Lower post-processing burden: Parts that print accurately need less sanding, filling, or rework
- Better structural performance: Optimized designs maintain strength without compensating wall thickness
Process-aware slicing tools are also evolving. Modern slicer software increasingly allows users to input material behavior profiles so the tool can compensate for known shrinkage rates before the file is ever sent to print. Pairing this capability with topology-optimized geometry creates a workflow where accuracy is built in, not chased after.
For more on applying these principles to short-run work, the low-volume manufacturing tips resource covers batch consistency in detail. The designing for reliability guide addresses design-stage decisions that prevent dimensional problems before printing starts.
Why most teams underestimate print accuracy and how to shift your approach
Here’s the uncomfortable reality: most teams treat print accuracy as a printer problem, not a process problem. When a part comes out wrong, the instinct is to adjust a setting or switch machines. But accuracy failures are almost always systemic. They compound across decisions made in design, material selection, slicer setup, and even how results are measured and recorded.
Small errors are particularly dangerous because they feel correctable. A 0.3mm offset seems easy to absorb with a chamfer or a filed edge. But in a multi-part assembly, chain tolerance issues stack. What started as a minor gap at one interface becomes a structural misalignment two components later. By then, the cost of correction has multiplied.
Process discipline beats post-print correction every time. Log your print parameters, measure actual outputs, and compare them to design intent on every meaningful run. Never assume one batch mirrors the last. Filament lots vary, ambient temperature changes, nozzles wear. The low-volume accuracy approach we apply at CC 3D Labs reflects exactly this discipline.
Pro Tip: Keep a simple print log with layer height, speed, temperature, material lot, and measured output dimensions. Over time, this data reveals patterns that setting changes alone never will.
The teams that produce the most reliable prototypes are not the ones with the best printers. They’re the ones who treat accuracy as a non-negotiable standard at every stage, not an afterthought.
Get reliable prototypes with print-perfect accuracy
If you’re ready to leave inconsistency behind and prioritize accuracy, here’s how to take the next step.
At CC 3D Labs, we build dimensional accuracy into every project from file review through final inspection. Whether you need a single precision prototype or a short production run with tight tolerances, our team works through the exact settings and material choices covered in this guide on every job.

Explore our professional 3D printing services to see the full range of capabilities we bring to prototyping and functional part production. If you need parts fast, on-demand 3D prototyping gets you from file to finished part with zero guesswork on accuracy. And if you want to design for the best possible outcome from the start, our reliable print design tips give you a solid foundation before you ever send a file.
Frequently asked questions
What is the difference between print accuracy and precision?
Print accuracy differs from precision in a fundamental way: accuracy measures how closely a part matches the intended design dimensions, while precision measures how consistently those results repeat from one print to the next.
How much does layer height affect 3D print accuracy?
Layer height is the most significant factor for width and height errors in FDM prints. Thinner layers produce noticeably better dimensional fidelity, especially on features with fine detail or tight tolerances.
Why do some prints warp more than others?
Warping is primarily from thermal shrinkage and uneven cooling during printing. PLA and PETG shrink less than ABS, but proper bed adhesion, enclosure use, and cooling management can reduce warping across all common filament types.
How can topology optimization improve print reliability?
MIT’s technique incorporates real-world print constraints into the design optimization process, which reduces deposition errors and makes complex parts more structurally reliable. It shifts accuracy from a post-print correction problem to a pre-print design solution.