
TL;DR:
- A true 3D lab combines industrial-grade equipment, expert workflows, and validation tools to accelerate product development. It enables rapid prototyping, design feedback, and quality assurance beyond simple desktop printing, providing a significant innovation advantage. Partnering with such labs offers faster time-to-market, higher-quality prototypes, and optimized strength through precise parameter control, all without large capital investment.
A desktop printer in the corner of an office can produce a rough shape. A 3D lab can produce a validated, production-ready part in the same amount of time it used to take just to schedule a machinist. Most product teams underestimate that gap, and it costs them weeks, revision cycles, and money. This guide breaks down exactly what a 3D lab is, how it operates, which technical parameters actually move the needle on part quality, and why the combination of expert workflows and specialized equipment creates an innovation advantage that a standalone printer simply cannot match.
Table of Contents
- What is a 3D lab? Capabilities and core functions
- How 3D labs accelerate innovation and shorten development cycles
- Technical methodologies: From modeling to validated prototypes
- Optimizing strength and quality: Parameters that matter most
- A practitioner’s perspective: What most guides miss about 3D labs and innovation
- How CC3DLabs can support your innovation goals
- Frequently asked questions
Key Takeaways
| Point | Details |
|---|---|
| 3D labs accelerate innovation | Specialized 3D labs empower faster prototyping and validation, significantly reducing product development timelines. |
| Integrated workflows boost quality | The combination of advanced tools and expert processes ensures prototypes are functional, precise, and production-ready. |
| Parameter optimization is essential | Fine-tuning machine parameters in a lab environment dramatically increases performance, strength, and reliability. |
| Hybrid methodologies deliver results | Mixing 3D printing, milling, and scanning in one lab maximizes innovation and shortens time-to-market for engineers and businesses. |
What is a 3D lab? Capabilities and core functions
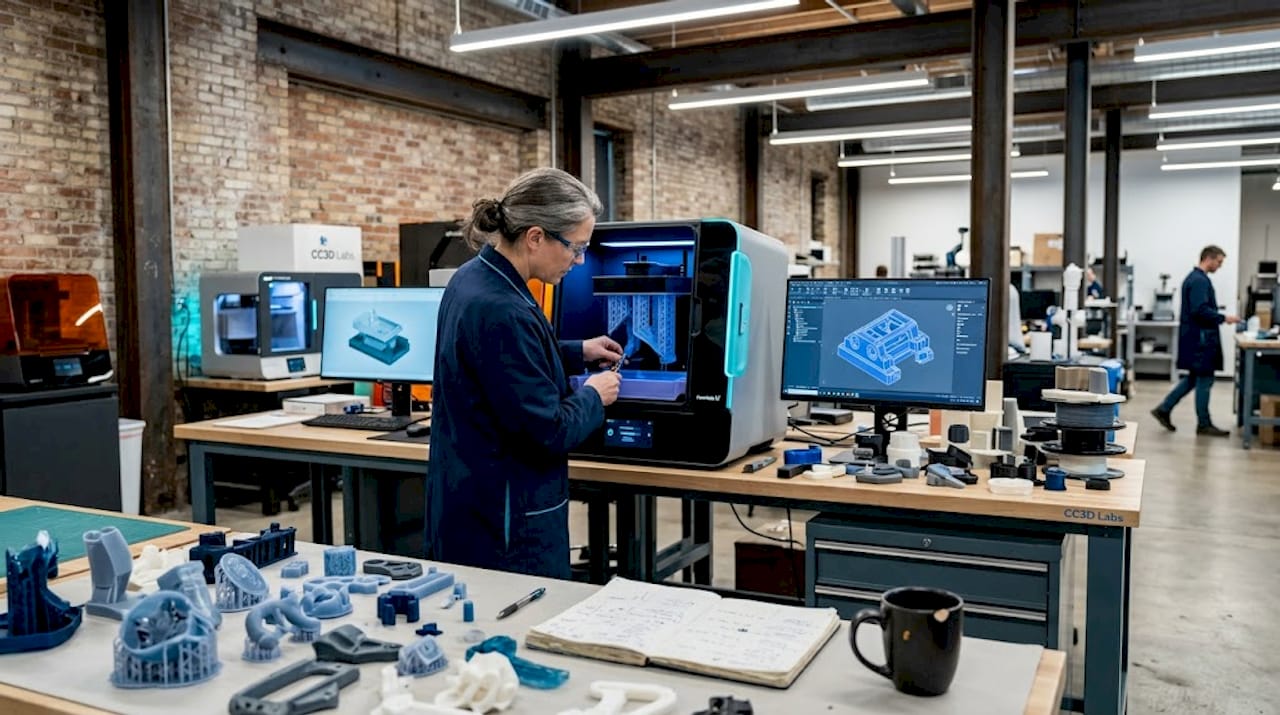
Not every space with a 3D printer qualifies as a 3D lab. A true 3D lab is a purpose-built facility that combines industrial-grade additive manufacturing equipment, subtractive tools, and metrology instruments under one coordinated workflow.

3D labs, such as FabLabs and innovation labs like Dassault Systèmes’ 3DEXPERIENCE Lab and Sofia Tech Labs’ 3D Creative Lab, serve as dedicated facilities equipped with 3D printers, CNC machines, laser cutters, and scanning tools for rapid prototyping and product development. That breadth of tooling is the key differentiator. You are not just printing a shape. You are moving a design concept through a full fabrication and validation pipeline within a single environment.
Here is what a well-equipped 3D lab typically includes:
- FDM (Fused Deposition Modeling) printers for fast, functional thermoplastic prototypes
- SLA (Stereolithography) or resin printers for high-resolution, fine-feature parts
- CNC milling machines for subtractive finishing and hybrid workflows
- Laser cutters for flat pattern cutting and precise sheet-material work
- 3D scanners for reverse engineering and dimensional inspection
- CMM (Coordinate Measuring Machine) for metrology-grade validation
- Post-processing stations for sanding, coating, heat treatment, and assembly
The range of prototypes to functional parts that a lab can produce in a single day dwarfs what any isolated desktop setup can manage. The difference is not just machine count. It is process integration.
| Feature | DIY / desktop printing | Dedicated 3D lab |
|---|---|---|
| Equipment variety | Single printer type | FDM, SLA, CNC, scanning, CMM |
| Operator expertise | Self-taught | Specialized technicians |
| Quality validation | Visual inspection | Laser scanning, CMM |
| DFM (design for manufacturing) review | Rarely available | Integrated into workflow |
| Iteration speed | Hours to days per cycle | Same-day or overnight |
| Material range | Limited | Engineering-grade and specialty filaments |
The table makes the contrast plain. A 3D lab is not a bigger version of your home setup. It is a fundamentally different operating model, built around systematic process control rather than trial and error. For product developers and engineers, that distinction shapes every decision from concept to final validation. Teams exploring creative 3D printing applications often find that lab access opens entirely new design directions that were never feasible with limited equipment.
How 3D labs accelerate innovation and shorten development cycles
Speed in product development is not just about printing faster. It is about compressing every step between a design decision and a physical result you can test. 3D labs do this by integrating modeling, fabrication, and feedback into a single coordinated loop.
3D labs accelerate innovation by enabling product developers, engineers, and SMEs to create working prototypes quickly, shortening time from idea to market using FDM, SLA, laser additive manufacturing, and hybrid systems. Where traditional manufacturing might require tooling lead times of four to eight weeks, a lab environment can deliver a testable prototype in 24 to 72 hours.
Here is a typical rapid prototyping workflow in a professional 3D lab:
- Digital modeling review. The engineering team submits a CAD file. Lab technicians review geometry for printability, wall thickness, unsupported overhangs, and tolerance requirements before printing begins.
- Material and parameter selection. Based on the part’s end use, technicians select the appropriate material (PLA, PETG, ABS, nylon, TPU) and configure build orientation, layer height, and infill.
- First print and visual inspection. The initial print is inspected for layer adhesion, surface finish, and dimensional accuracy against the design file.
- Functional testing or scanning. For functional parts, the prototype is tested under load or scanned against the original model to confirm dimensional compliance.
- Design feedback loop. Any deviations or failure points feed directly back to the designer, who revises the CAD file. The cycle restarts.
- Final validation print. Once all iterations pass testing, the lab produces a validated prototype ready for manufacturing review or low-volume production.
Development time comparison:
| Development stage | Traditional method | 3D lab workflow |
|---|---|---|
| Initial prototype | 3 to 6 weeks | 1 to 3 days |
| Design revision cycle | 1 to 2 weeks each | 24 to 48 hours each |
| Functional validation | 2 to 4 weeks | 3 to 7 days |
| Total time to validated prototype | 8 to 14 weeks | 1 to 3 weeks |
Those numbers translate directly into competitive advantage. A product team that can run three to five iteration cycles in the time a competitor completes one arrives at a better product faster.
Pro Tip: Build a design for manufacturing review into every iteration cycle, not just the final one. Catching a wall-thickness issue on iteration two costs far less than discovering it after tooling is cut.
Faster prototyping is not just about printing speed. It is about eliminating the dead time between design changes and physical results, and 3D labs are built specifically to do exactly that.
Technical methodologies: From modeling to validated prototypes
Understanding the workflow at a high level is useful. Understanding the specific technical methods used inside a 3D lab is what allows product teams to set realistic expectations, communicate better with technicians, and design smarter from the start.
The 3D lab methodology covers 3D modeling, scanning, reverse engineering, FDM prototyping, metal laser sintering with high-speed milling, and validation via CMM and laser scanning for functional prototypes. Each of those steps serves a specific purpose in the quality chain.
Key technical capabilities that define a professional 3D lab workflow:
- Reverse engineering via 3D scanning: When a physical part exists but no CAD file does, lab technicians scan the object to generate a precise digital model. This is essential for legacy parts, competitive benchmarking, or repair applications.
- Hybrid toolchains: Combining 3D printing with CNC milling produces parts that neither process could achieve alone. A printed form is roughed in by the printer, then precision-finished by the mill, delivering both geometric freedom and tight dimensional tolerances.
- Staged functional validation: Rather than printing a complete assembly and discovering failures at the end, labs validate critical sub-components at each stage using fixture testing or laser comparison scans.
- CMM (Coordinate Measuring Machine) inspection: For parts that require certified dimensional accuracy, CMM inspection provides point-cloud data verified against the original design envelope. This is standard practice in aerospace, medical device, and industrial part development.
“Validation methodologies in professional 3D labs, including CMM inspection and laser scanning, are what separate a printed shape from a certified functional prototype. The machine produces geometry. The validation process confirms it is the right geometry.” Based on methods detailed in FabLab 3DEXPERIENCE.
Pro Tip: If your part has a mating surface or a critical tolerance zone (anything tighter than ±0.2mm), request a CMM scan of the prototype before calling it validated. A visual check will not catch the issues that matter most for fit and function.
Improving design accuracy and prototyping outcomes starts long before the printer runs. It starts with how the model is prepared and what validation checkpoints are built into the process. Teams that invest time in designing reliable prototypes upfront spend far less time on rework later. A thorough prototype accuracy checklist reviewed before each print cycle dramatically reduces surprise failures.
Optimizing strength and quality: Parameters that matter most
Printing a part and printing a strong part are two very different things. The difference lives in the machine parameters set before the print begins. Most teams using desktop printers accept default slicer settings and wonder why their prototypes fail under load. Labs do not accept defaults.
Optimized parameters such as on-edge build orientation, 0°/90° or 45°/negative 45° raster angles, and 0.08mm layer thickness yield tensile strengths up to 96.89 MPa in PLA, doubling what conventional 3D prints achieve. Infill density contributes 55 to 80% of total strength gains in tested specimens. Those numbers are significant. They mean a properly configured lab print can perform at nearly double the mechanical strength of a print from default settings using the exact same material.
Parameters that directly control part strength and quality:
- Build orientation: On-edge orientation aligns layers with the primary load path, maximizing tensile strength. Flat orientation is faster but weaker in the Z-axis.
- Raster angle: A 0°/90° alternating pattern builds isotropic strength. A 45°/negative 45° pattern is often better for shear-loaded parts.
- Layer thickness: Thinner layers (0.08 to 0.12mm) increase layer-to-layer bond area, directly improving tensile and impact performance. Thicker layers print faster but sacrifice strength.
- Infill density and pattern: Gyroid and honeycomb infill patterns at 40 to 80% density dramatically increase specific strength (strength-to-weight ratio) compared to grid infill at the same density.
- Print temperature and cooling rate: Higher nozzle temperatures improve inter-layer fusion but require controlled cooling to avoid warping in larger parts.
Common pitfalls that undercut prototype performance:
- Accepting default slicer settings for wall count and infill (typically too low for functional parts)
- Ignoring DFM feedback because it requires a CAD revision
- Choosing a material for aesthetics rather than mechanical requirements
- Skipping post-processing steps like annealing that improve dimensional stability
Focusing on 3D print quality factors from the initial design stage rather than treating print settings as an afterthought is one of the most consistent habits separating teams that ship reliable products from teams that cycle through endless revisions. The data is clear. Parameter control is not optional if performance matters.
A practitioner’s perspective: What most guides miss about 3D labs and innovation
Most articles about 3D labs focus almost entirely on the equipment list. They tell you what machines are in the room. They rarely tell you what actually produces results.
After working alongside product development teams across dozens of prototyping cycles, the clearest pattern is this: the biggest variable is not the printer model. It is the operator’s ability to interpret a design intent and translate it into build parameters. A skilled technician will catch a wall-thickness issue at file review. An automated slicing tool will print it anyway and charge you for a failed part.
Build orientation dominates mechanical performance, and labs provide DFM feedback, parameter optimization, and hybrid workflows for production-grade parts. That expert nuance, the kind that comes from running thousands of parts across dozens of materials and applications, is not something you can replicate by reading a settings guide online. It accumulates through systematic experimentation and close observation of failure modes.
The teams that get the most value from a 3D lab are not the ones with the most sophisticated CAD skills. They are the ones who treat the lab relationship as collaborative rather than transactional. They share context about how the part will be used. They ask about material alternatives. They follow up on failed prints to understand why they failed rather than just rerunning with the same settings.
There is also a structural issue that most guides skip entirely: the difference between a lab that offers access to machines and a lab that offers integrated expertise. Machine access is a commodity. Systematic DFM review, parameter optimization based on empirical test data, and hybrid workflow design are not. When you evaluate a 3D lab partner, the question to ask is not “what machines do you have?” It is “what does your feedback loop look like?” That answer will tell you more about the value you will receive than any equipment list.
Reviewing step-by-step prototyping insights with a lab partner rather than independently also reveals design issues much earlier in the cycle, when they are cheapest to fix.
How CC3DLabs can support your innovation goals
Having covered the critical roles and nuanced advantages of 3D labs, let’s look at how you can apply these insights directly with CC3DLabs’ services.
CC3DLabs, located near Philadelphia, brings exactly the kind of expert-led, process-integrated approach this article describes. Whether you need rapid functional prototypes, metrology-grade scanning, or low-volume batch production, the team delivers parameter-optimized prints with real DFM feedback built into every order.

You can explore the full range of 3D printing services to see how each fits your development stage. If dimensional accuracy is a priority for your next prototype, learn how CC3DLabs can boost design accuracy through integrated scanning workflows. And if you are still scoping what is possible, reviewing the full scope of prototyping possibilities is a practical starting point. Fast turnaround, expert input, and production-grade quality are available without the capital investment of building your own lab.
Frequently asked questions
What makes a 3D lab different from just owning a 3D printer?
A 3D lab combines industrial-grade equipment, expert staff, and integrated workflows for end-to-end prototyping and product validation, going far beyond what a desktop printer can deliver. Dedicated lab facilities include CNC machines, laser cutters, and scanning tools alongside printers, enabling a complete fabrication and validation pipeline.
How do 3D labs reduce time to market?
By enabling rapid prototyping with real-time design feedback and quick iteration cycles, 3D labs cut product development from months to weeks. Lab-based workflows using FDM, SLA, and hybrid systems compress each design-to-test cycle to as little as 24 to 48 hours.
What prototype quality advantages do 3D labs provide?
They deliver validated prototypes using advanced scanning, DFM reviews, and parameter optimization for superior strength and precision. Validation through CMM and laser scanning confirms that each prototype meets actual dimensional and mechanical requirements before moving to production.
Which 3D printing parameters have the strongest impact on part performance?
Build orientation, raster angle, layer thickness, and infill density are the four parameters that most directly control mechanical performance. Optimized parameter sets can nearly double tensile strength compared to default print settings using the same material.
Can a small business benefit from 3D lab resources without huge investments?
Yes. Many professional 3D labs offer on-demand services and scalable order sizes, allowing SMEs and startups to access industrial-grade prototyping without capital expenditure on equipment or operator training. The cost per validated prototype is often lower than the cost of a single failed tooling run.