
TL;DR:
- 3D printing is cost-effective for batch sizes up to 500 units, especially for complex geometries.
- Preparing detailed design verification, proper material selection, and meticulous post-processing are essential for quality.
- Scaling requires validation, central management, and risk mitigation through smaller sub-runs and redundancy.
Traditional manufacturing hits a wall when you need 50, 200, or 500 parts fast. Tooling costs for injection molding can exceed tens of thousands of dollars before a single part ships, and CNC machining queues stretch weeks when you need agility. 3D printing flips that equation, letting you run functional batches without custom tooling, long lead times, or minimum order commitments. This guide walks you through every stage of batch production with 3D printing, from early design decisions to post-processing and scaling, so you can move faster, waste less, and produce parts that actually perform.
Table of Contents
- Understanding batch production in 3D printing
- Mapping out your batch: Preparation essentials
- Executing the batch production process: Step-by-step guide
- Post-processing and quality verification: What to check
- Scaling up and optimizing your batch production workflow
- A practical perspective: What most guides miss about batch 3D printing
- Ready to streamline your batch production?
- Frequently asked questions
Key Takeaways
| Point | Details |
|---|---|
| Best for small to medium runs | 3D printing shines in batch production for units below 1000, avoiding costly tooling. |
| Preparation is critical | Successful batches depend on careful design, material choice, and spacing strategies. |
| SLS and MJF for durability | These methods offer superior consistency and strength over FDM, making them ideal for functional parts. |
| Scale with caution | Split large jobs into safer batches and document processes for better control and repeatability. |
Understanding batch production in 3D printing
Batch production means manufacturing a defined quantity of parts in one or more coordinated print runs, rather than printing one-off or running continuous mass production. In the 3D printing context, a batch can be as small as 10 units or as large as several hundred, all produced with consistent settings, materials, and quality checks.
The question most engineers face is: when does 3D printing beat traditional manufacturing for batch work? The answer depends on volume, complexity, and tooling cost. 3D printing is cost-effective under 500 units, especially for complex geometries that would require expensive molds or multi-axis CNC fixturing. Above 1,000 units, injection molding typically wins on per-part cost, but you lose the flexibility to iterate designs mid-run.
For low-volume manufacturing tips that keep costs under control, the key advantage of 3D printing is eliminating setup costs entirely. No mold, no jig, no fixture. You change a file and reprint.
When 3D printing batch production makes sense:
- Runs of 10 to 500 units with design iteration expected
- Complex internal geometries that molds cannot produce
- Tight launch timelines with no room for tooling lead times
- Custom or personalized variants within the same batch
- Bridge production while waiting for injection mold tooling
Here is a quick comparison to frame your decision:
| Factor | 3D printing | Injection molding | CNC machining |
|---|---|---|---|
| Setup cost | Near zero | $5,000 to $50,000+ | Medium to high |
| Best volume | Under 500 units | Over 1,000 units | 1 to 200 units |
| Design changes | Instant file update | Mold rework required | Re-program needed |
| Geometry complexity | Excellent | Limited by draft angles | Limited by tool access |
| Lead time | Hours to days | Weeks to months | Days to weeks |
Hybrid workflows, combining additive manufacturing with light CNC finishing, often deliver the best results for functional batches needing tight tolerances. Knowing which 3D printing type to choose for your part requirements is the first real decision.
Mapping out your batch: Preparation essentials
Understanding the benefits is only useful if you prepare correctly. Here’s what you need for a smooth batch production run.
Before you start printing, your design files and production plan need to be solid. A single upstream error, like a wall thickness below the printer’s reliable minimum, can ruin an entire tray of parts. Designing reliable 3D prints starts with checking tolerances, adding consistent wall thicknesses, and minimizing overhangs that require dense support structures.
Pre-batch preparation checklist:
- Verify all STL or 3MF files are watertight with no mesh errors
- Set tolerances to account for your material’s shrinkage rate
- Orient parts to minimize support material and maximize layer strength
- Choose material based on mechanical, thermal, and surface finish requirements
- Confirm build volume fits your batch without overcrowding
- Test one or two parts before committing the full batch
Material selection is often underestimated. PLA works for display prototypes but fails under heat or load. PETG balances ease of printing with decent mechanical properties. Nylon and PA12 powders suit functional end-use parts. Your post-processing plan also influences material choice, since some materials sand, dye, or machine better than others.
For FDM batch runs, sequential printing over simultaneous is more reliable, especially on multi-nozzle or single-head machines. Keep 5 to 10mm spacing between parts, enable Z-hop at 0.2 to 0.4mm to avoid knocking parts over, and turn on combing to minimize stringing across the build plate. For powder-bed processes like SLS, the powder acts as a self-supporting medium, so you can stack and nest parts freely in the Z direction.
| Setting | FDM batch | SLS/MJF batch |
|---|---|---|
| Part spacing | 5 to 10mm | 2 to 5mm |
| Support strategy | Minimized but required | Not required |
| Z-hop | 0.2 to 0.4mm | Not applicable |
| Nesting | 2D build plate | Full 3D volume |
If you use 3D scanning to verify existing parts or reverse-engineer components, integrating high quality 3D scan data into your pre-production workflow reduces dimensional errors before the first layer prints.
Pro Tip: Design every part in a batch to share the same orientation on the build plate. Consistent orientation means consistent layer lines, consistent strength, and consistent surface finish across every unit.
Executing the batch production process: Step-by-step guide
Prepping your batch is only half the equation. Now, let’s walk through a reliable execution plan.
- Slice and nest your files. Use your slicer’s auto-arrange or manual layout to maximize density without crowding. Review the 3D preview for collisions or thin unsupported sections.
- Validate machine state. Check bed adhesion surfaces, nozzle condition, filament moisture content for FDM, or powder age for SLS/MJF. A contaminated bed ruins the entire tray.
- Run a single-unit test print. Before committing 200 parts, confirm one unit meets dimensional and visual specs. This step saves hours.
- Start the batch and monitor early layers. The first three to five layers predict 90% of batch failures. Stay close or use a camera feed to catch adhesion issues early.
- Log runtime parameters. Record temperature, humidity, print speed, and any deviations. This data is your diagnostic tool for the next run.
- Handle mid-run adjustments carefully. Some slicers and firmware allow live flow rate or temperature tweaks. If you adjust, document it immediately.
- Remove and label each batch tray. Traceability matters. Label each tray with date, material lot, and settings version before post-processing begins.
“MJF PA12 tensile strength reaches approximately 46 MPa and withstands 100,000 cycles with under 16% stiffness loss, while SLS offers better batch-to-batch reproducibility. FDM remains limited by layer anisotropy and delamination risk for functional batch parts.”
For teams printing quality prototypes alongside functional parts, keeping separate print queues by material and purpose prevents cross-contamination of settings and priorities.
Pro Tip: Log every print run in a simple spreadsheet: date, machine, material lot, settings file version, and any anomalies. When a defect appears in batch 47, you will know exactly what changed from batch 46.
For teams scaling to print farm operations, 3D printing on demand with distributed printers requires centralized file management and consistent firmware versions across all machines to avoid output variation.
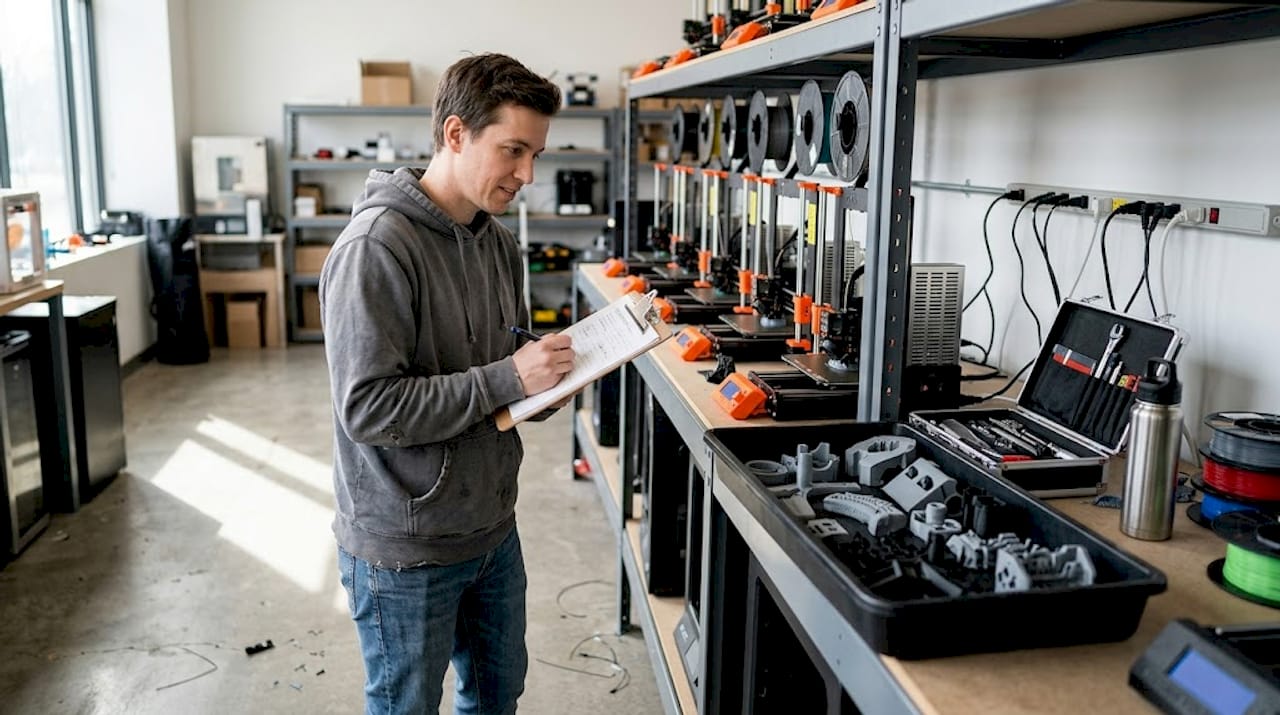
Post-processing and quality verification: What to check
You’ve completed your batch run, but production isn’t finished until you ensure every part meets your standard.
Post-processing is where batch efficiency either compounds or collapses. Rush it, and defects slip into the supply chain. Over-engineer it, and you lose the cost advantage of additive manufacturing entirely. The goal is a structured, repeatable QA process scaled to your batch size and part function.
Core post-processing steps by part type:
- Support removal: Remove carefully with flush cutters or media blasting for SLS/MJF parts. Inspect support interfaces for surface damage.
- Surface finishing: Sand, bead blast, or vapor smooth depending on cosmetic requirements and material.
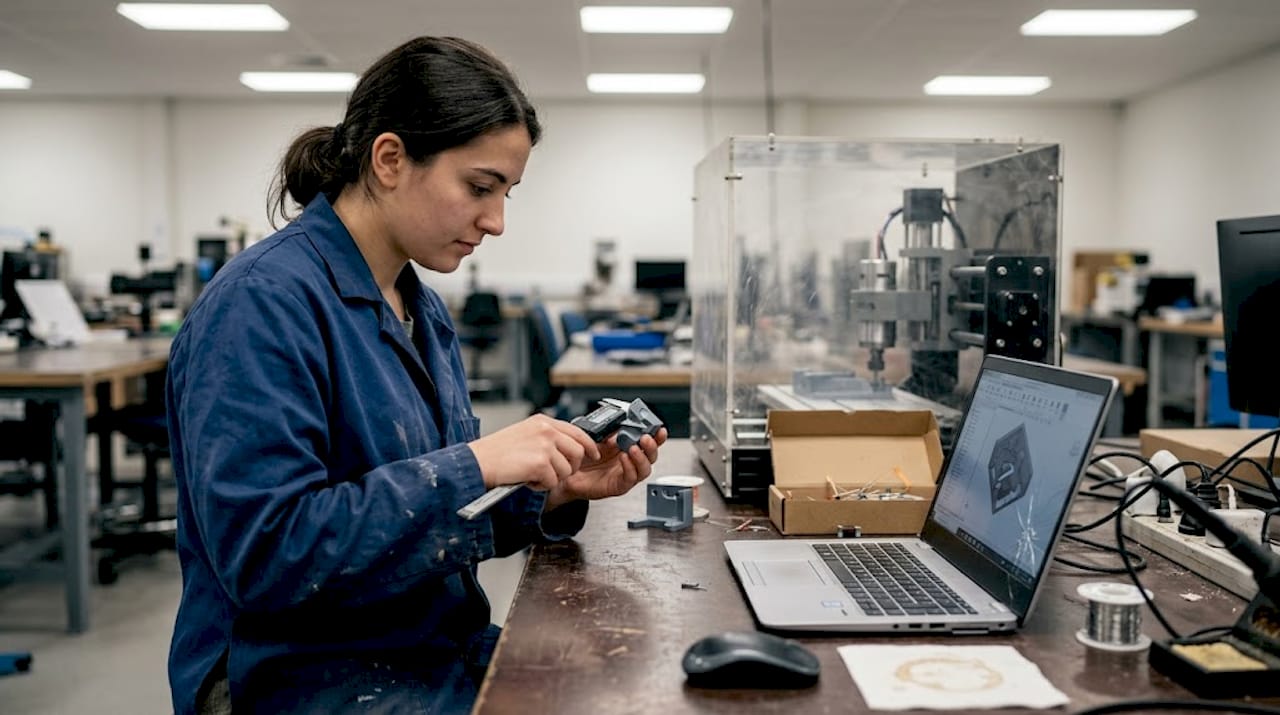
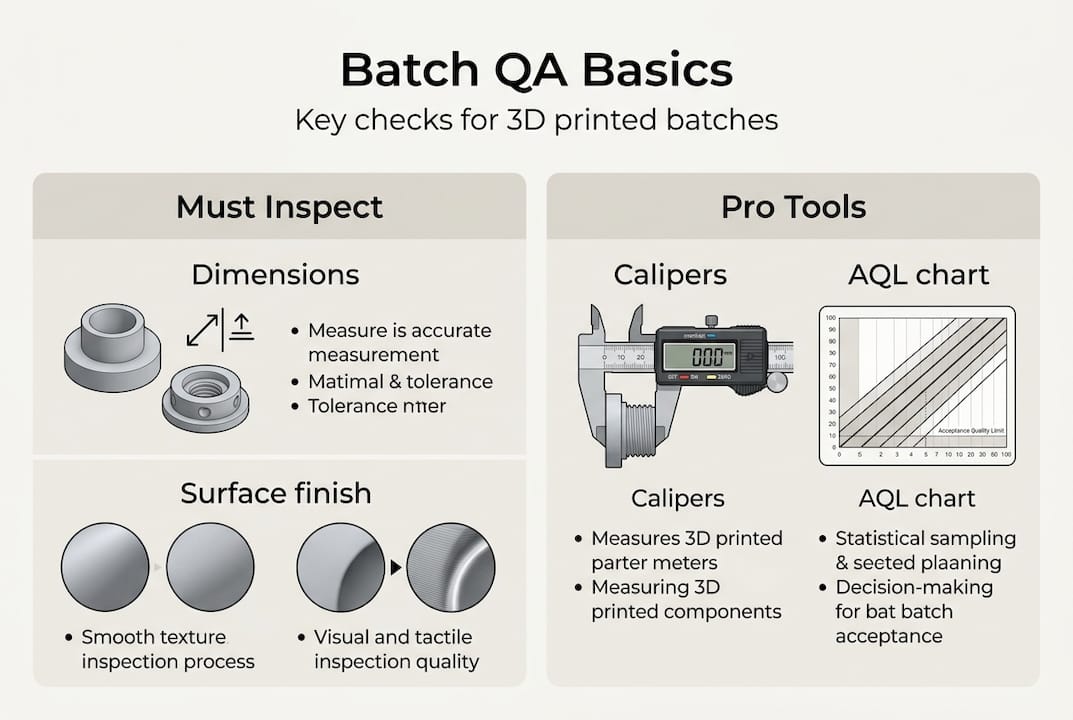
- Dimensional check: Measure critical features with calipers, CMM, or go/no-go gauges. Focus on mating surfaces, bores, and thread engagement zones.
- Mechanical inspection: Flex-test clips, torque-test fastener points, or pull-test adhesive joints where functional performance is critical.
- Cosmetic review: Check for layer delamination, warping, color inconsistency, or surface voids under diffuse lighting.
For production batches of 300 to 800 units in industrial device applications, MJF suits mid-volume functional runs while SLS delivers tighter batch-to-batch reproducibility. FDM is a real risk for parts that see mechanical stress or cyclic loading.
Sampling strategy matters. You do not need to inspect every unit in a 500-part batch. Use AQL (Acceptable Quality Level) sampling tables to select a statistically valid sample size. For critical functional parts, inspect 100%.
| Printer type | Typical post-processing | QA priority |
|---|---|---|
| FDM | Support removal, sanding | Delamination, warping |
| SLS | Powder removal, bead blast | Dimensional accuracy |
| MJF | Powder removal, dyeing | Surface consistency |
| Resin | UV cure, support removal | Brittleness, warping |
For insight into functional part fabrication requirements across different industries, matching your QA process to the part’s end use is the fastest way to keep costs reasonable without cutting corners.
Scaling up and optimizing your batch production workflow
After validating one batch, you may need to ramp up production. Here’s how to scale efficiently without sacrificing quality.
- Validate before scaling. Run two or three small batches with full QA before increasing volume. Undetected issues multiply fast at scale.
- Introduce print farms gradually. Add machines in pairs, not all at once. Validate output from each new machine against your baseline before routing production jobs to it.
- Centralize file and settings management. Use a version-controlled repository for all print profiles. A rogue settings file on one machine can corrupt an entire production run.
- Automate where the ROI is clear. Automated bed leveling, filament runout sensors, and camera monitoring pay back quickly. Full robotic part removal is worth evaluating for very high-volume FDM farms.
- Build redundancy into your schedule. Plan for one machine to be down at any time. If your schedule cannot absorb one printer being offline, you are understaffed on capacity.
Breaking mega-batches into smaller sub-runs reduces catastrophic failure risk and makes QA more manageable. If one sub-run fails, you lose a fraction of your day, not your entire production week. MJF and SLS isotropic properties make them the natural choice for functional batch scaling, but secondary machining remains necessary for features requiring tolerances tighter than ±0.2mm.
For teams evaluating custom batch printing jobs, the decision between in-house scaling and outsourcing often comes down to utilization rate. Owning printers makes sense above 60 to 70% utilization. Below that, a service bureau is almost always more cost-effective. Staying current on 3D printing trends shaping manufacturing helps you time capital investments in new equipment wisely.
Pro Tip: Split any batch larger than 100 units into at least two separate print runs on separate machines. This gives you a live comparison of output consistency and a safety net if one machine develops a problem mid-run.
A practical perspective: What most guides miss about batch 3D printing
Most batch production tutorials focus on filling the build volume. Pack the tray, maximize machine time, reduce cost per part. We have seen that logic backfire more than once. When a tray of 80 parts fails at hour 14 because one part warped into the print head, you lose all 80 parts and the machine time. Two trays of 40 parts, run sequentially, would have saved at least half the output.
The real discipline in batch 3D printing is not optimization. It is risk management. Experienced production teams prioritize traceability, redundancy, and process documentation over raw throughput. They know which failures repeat and why, because they logged the data from the last 30 runs.
Post-processing and QA also take longer than engineers typically budget. A 10-hour print run can generate 6 to 8 hours of support removal, inspection, and finishing work. That hidden labor cost often makes on-demand custom parts from a service provider more economical than in-house production for periodic batch needs.
Hybrid workflows, additive for complex geometry and traditional machining for tight tolerances, consistently outperform pure additive in SME environments. The engineers who figure that out early stop chasing tolerances the printer cannot reliably hold and start designing around the process instead.
Ready to streamline your batch production?
Armed with these strategies, you may be ready to print smarter, not harder. If you want to put these best practices into action even faster, here’s where to start.

At CC 3D Labs, we specialize in exactly this kind of work: prototypes, functional parts, and low- to mid-volume 3D printing services for product developers and manufacturers who need reliable output without the overhead of in-house print farms. Whether you want to explore what 3D printing can do for your specific parts or you are ready to place an on-demand batch printing order, our team near Philadelphia is set up to support your production goals with fast turnaround and real quality control.
Frequently asked questions
What is batch production in 3D printing?
Batch production in 3D printing means manufacturing multiple identical or varied parts in one or more print runs, optimizing efficiency and costs without needing complex tooling. It is cost-effective for runs under 500 units, especially for complex geometries.
How do I avoid failed parts during batch 3D printing?
Split large jobs into smaller batches, use print farms for redundancy, and log each print’s settings to catch recurring errors early. Breaking mega-batches into sub-runs limits how much output you lose when something goes wrong.
Which 3D printing method is best for functional parts in batches?
SLS and MJF offer the best strength and batch consistency for functional parts. MJF PA12 reaches approximately 46 MPa tensile strength and handles high-cycle loading well, while FDM is less reliable for stressed or high-cycle use.
Is 3D printing suitable for high-volume manufacturing?
3D printing is best for batches under 1,000 units. For higher volumes, injection molding outperforms 3D printing on per-part cost, though tooling investment and lead time are significantly higher.